
Directions: Need to add directions here. Until then use the map links below!
Trail notes: We left Seattle bright and early to allow ourselves plenty of time on this hike. This did not prevent us, however, from getting stuck in stop and go traffic on SR169 at 7:20 am on Sunday morning! Evidently there was night-time construction there with all or a part of the freeway being closed for it, and we happened to pass through right around the time they re-opened it. After passing the affected spot, the rest of the drive was uneventful.
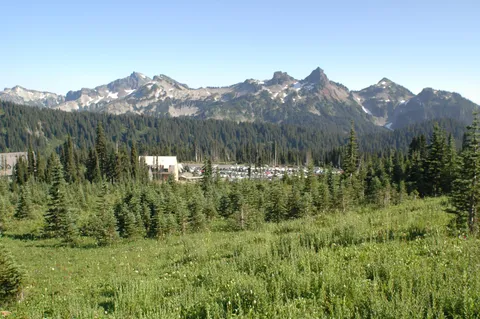
The hike starts at Paradise main parking lot at Rainier. On a nice weekend day (like the Sunday of this hike), the lot attracts more visitors than any other place in the park. We have arrived a bit after 9 am, and the giant parking lot was already half-full. Come early if you want a spot! The visitor center is an easy 3 minute walk from the parking area; the area itself is bordered by several buildings including a ranger station which has a whiteboard with most recent trail information and weather forecast. I am still not sure whether one needs to stop by on the way up to Muir to get a climbing pass which covers mountain rescue costs. My understanding is that it is mandatory for climbers who will attempt a Rainier summit as well as hikers who intend to overnight at Camp Muir but not continue up further. In any case, we did not get a permit, and nobody asked us for one at any point.
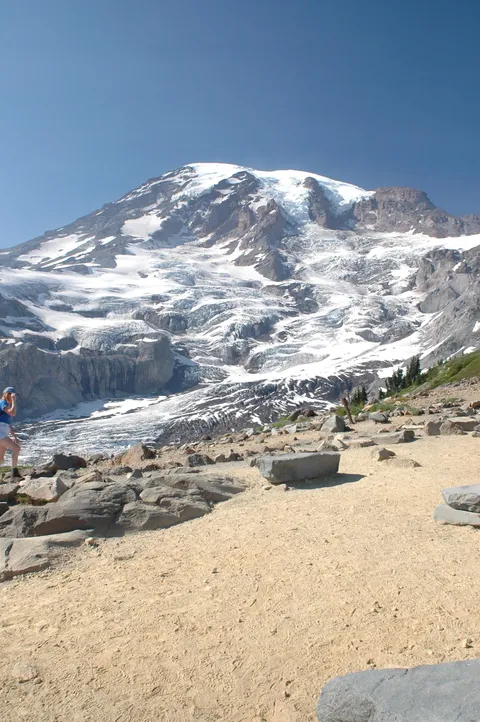
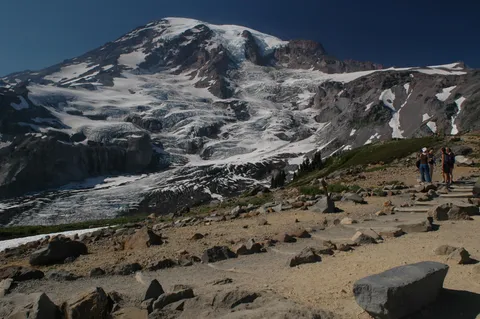
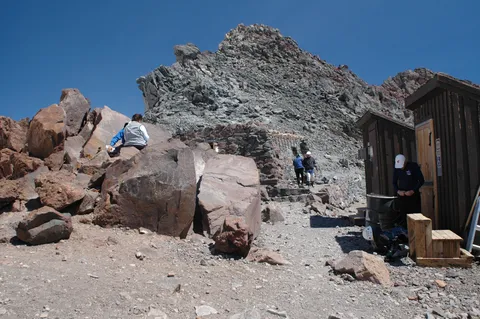
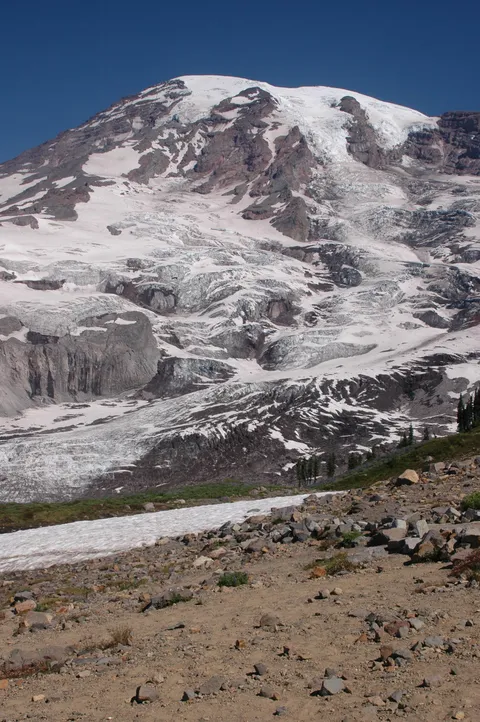
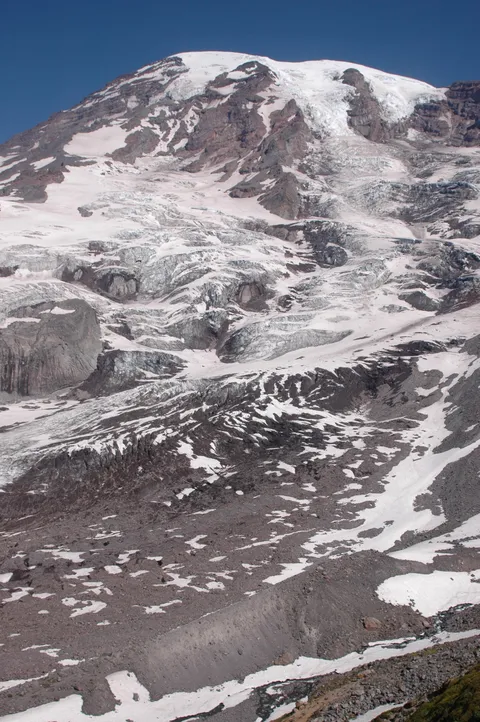
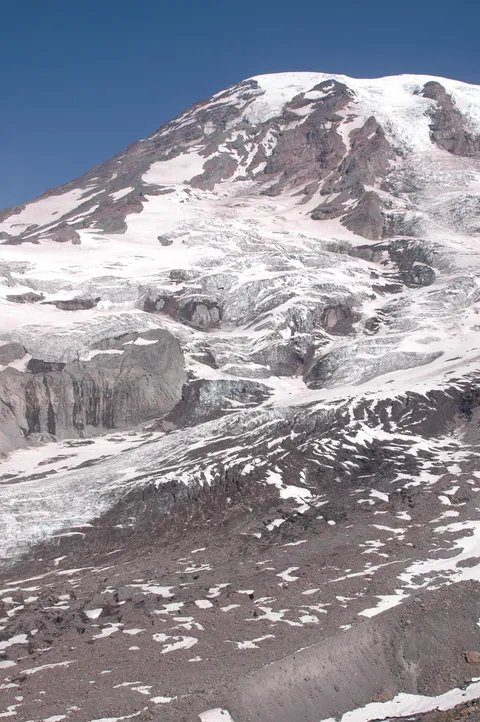
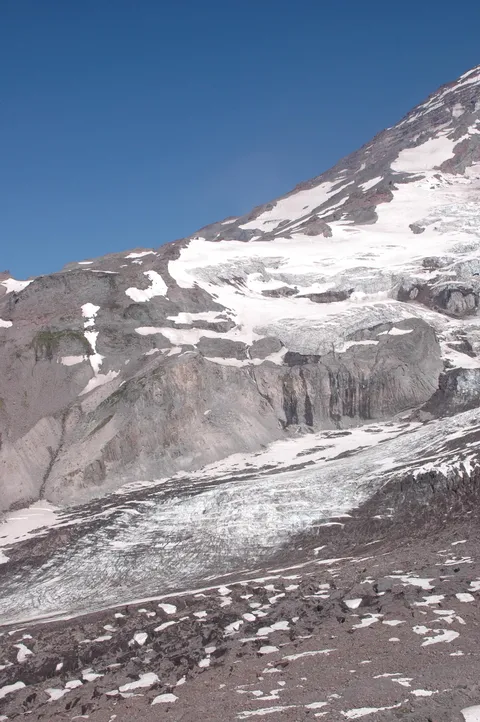
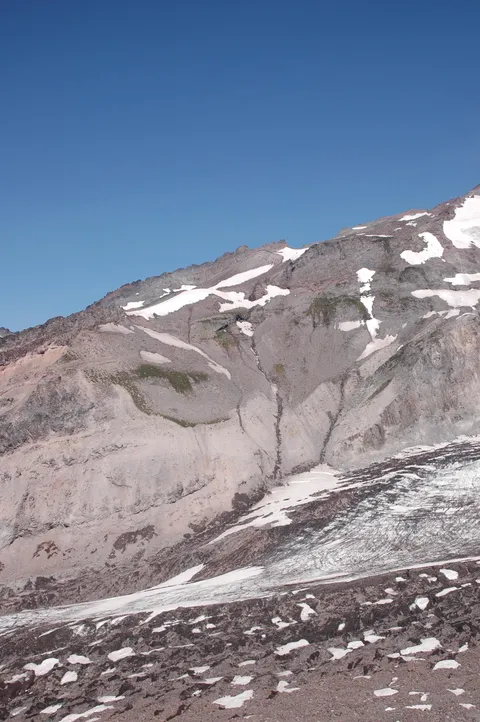
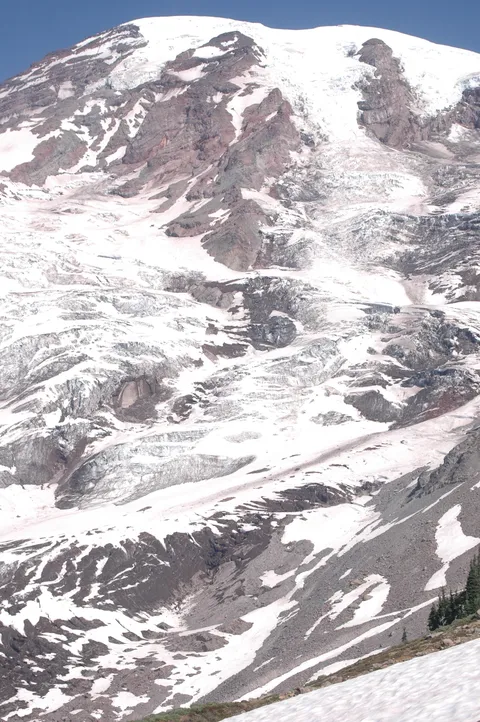
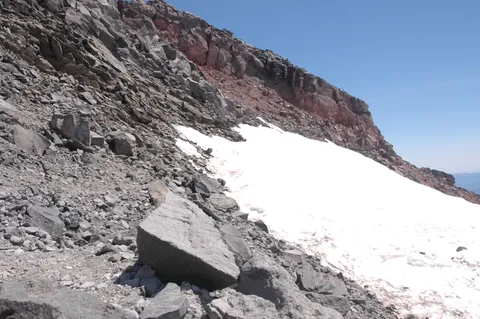
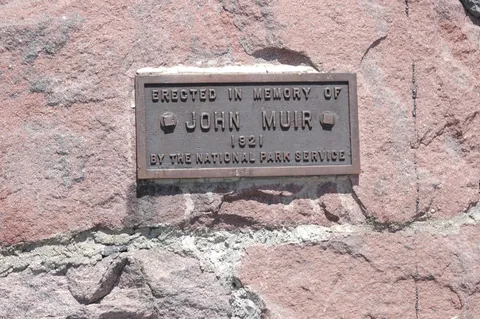
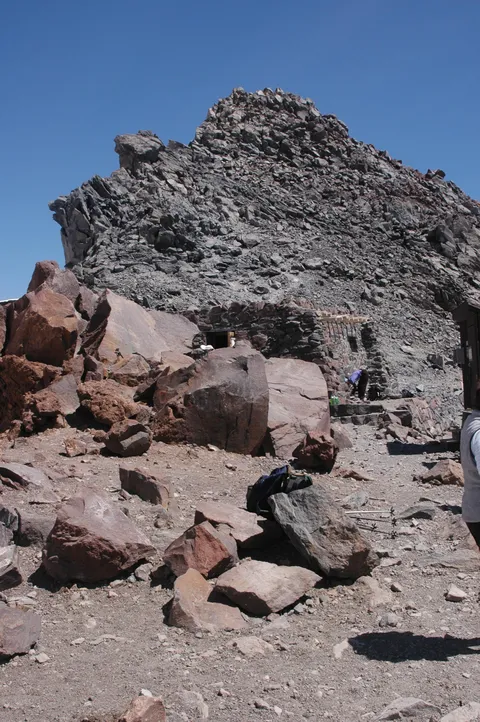
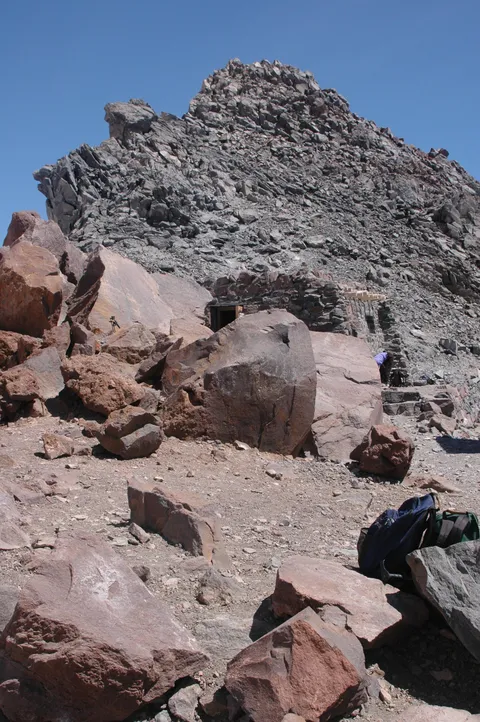
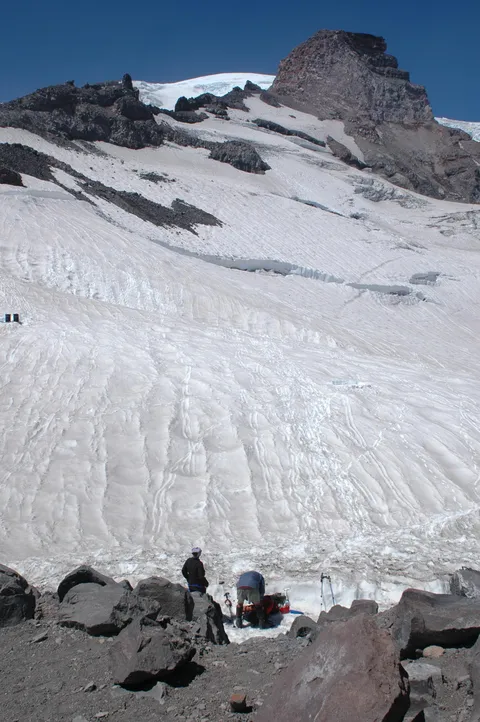
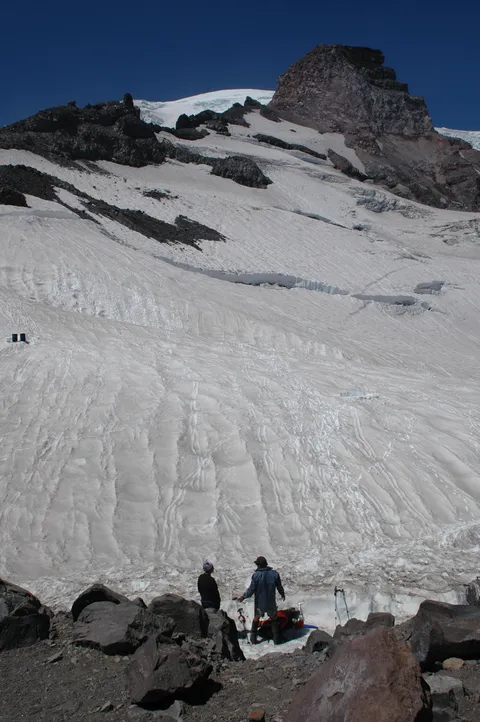
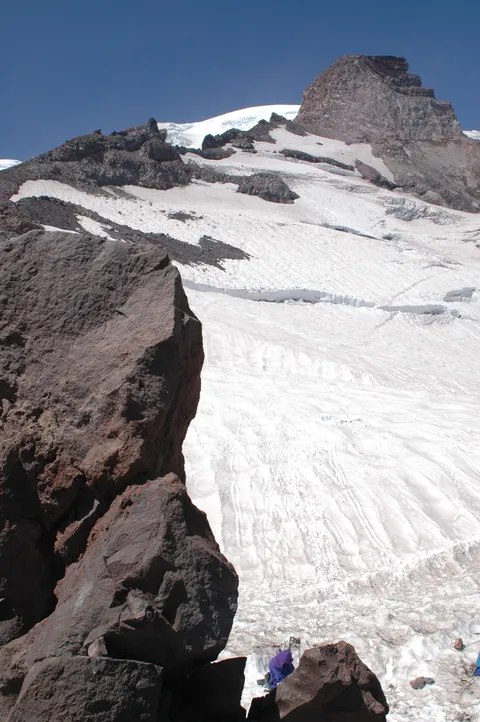
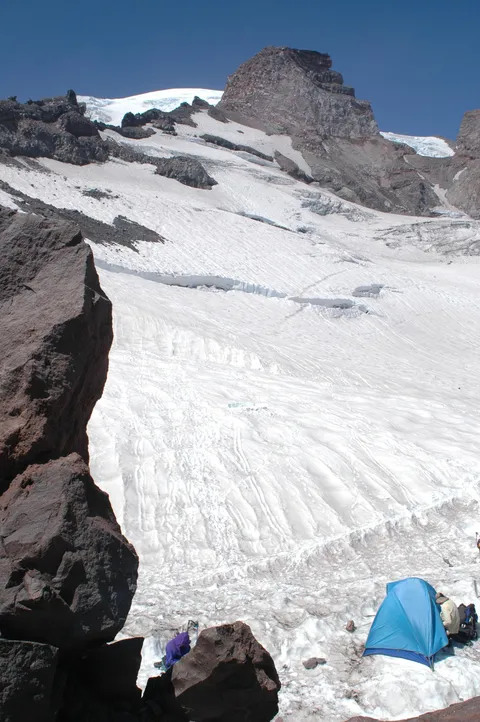
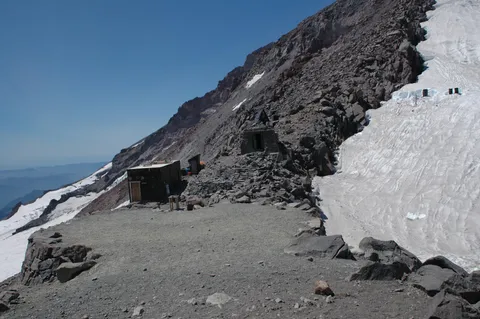
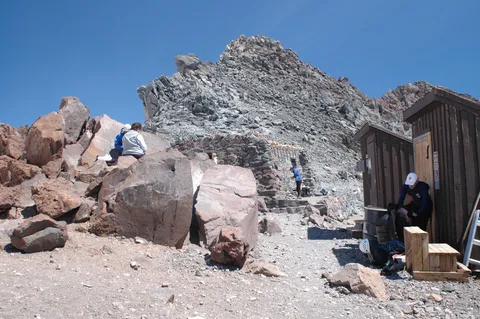
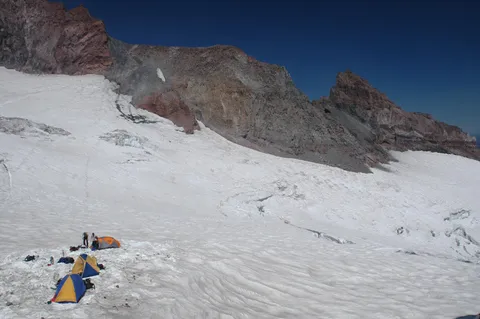
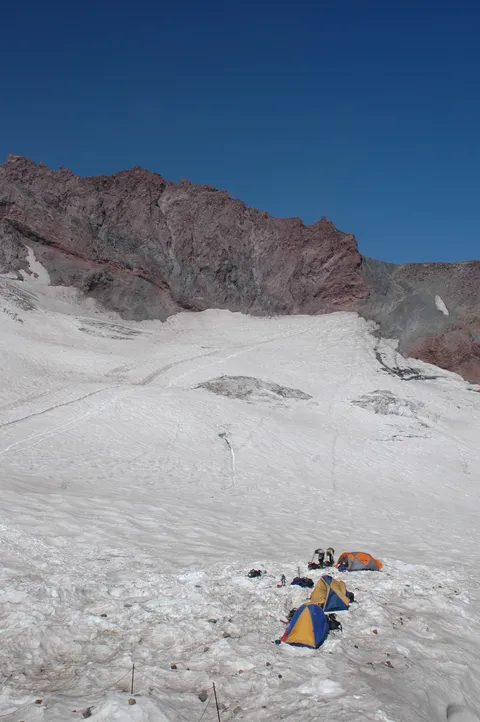
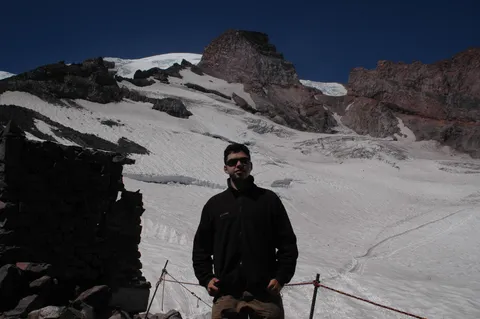
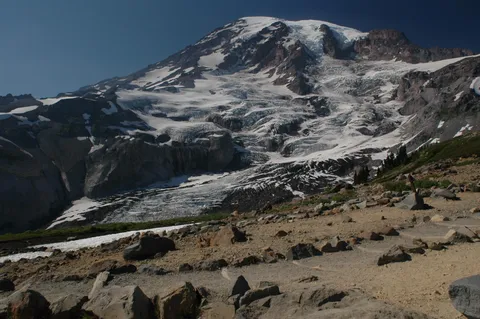
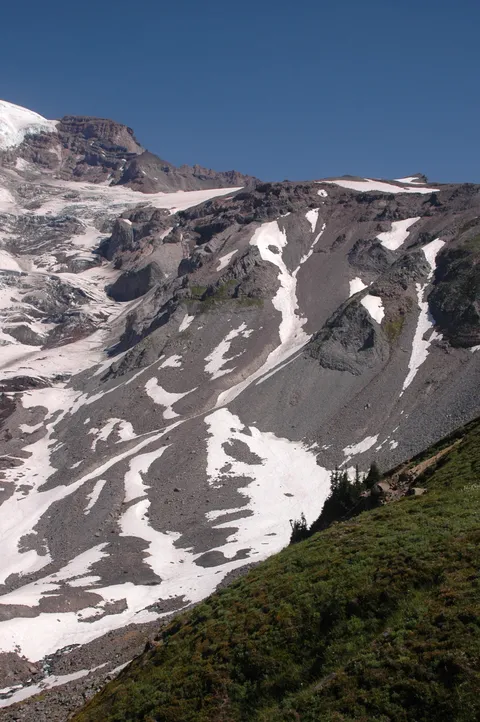
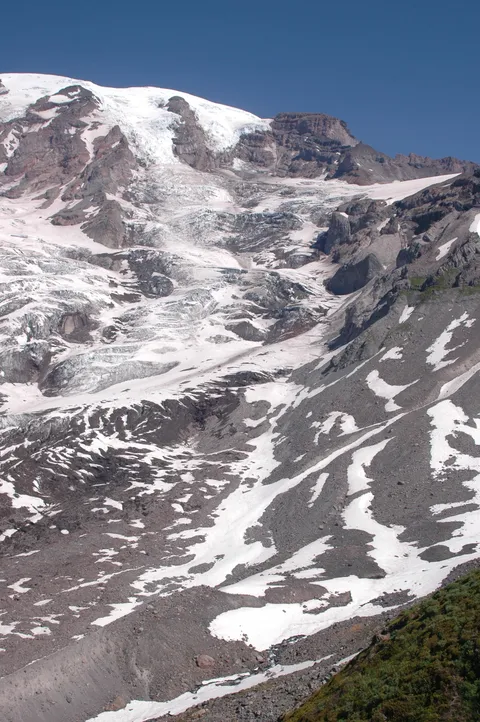
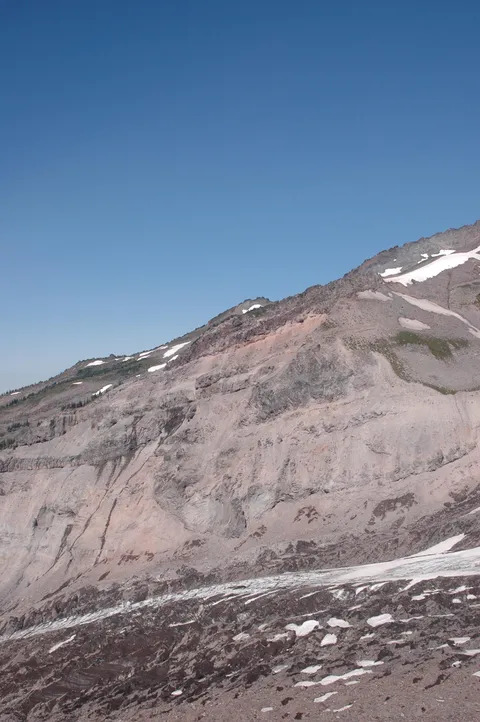
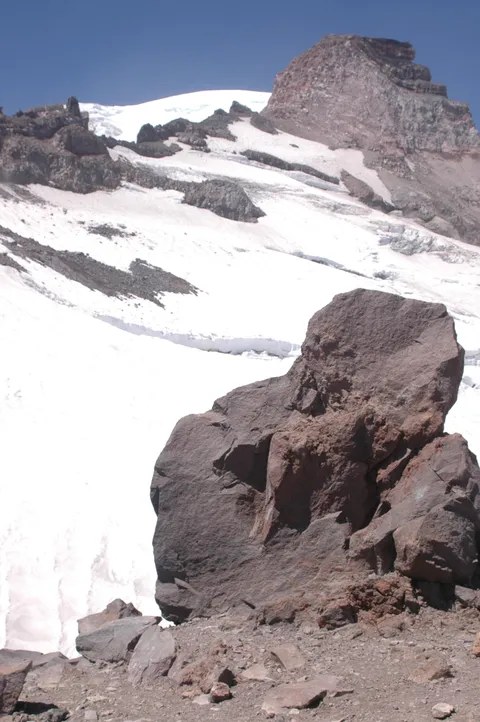
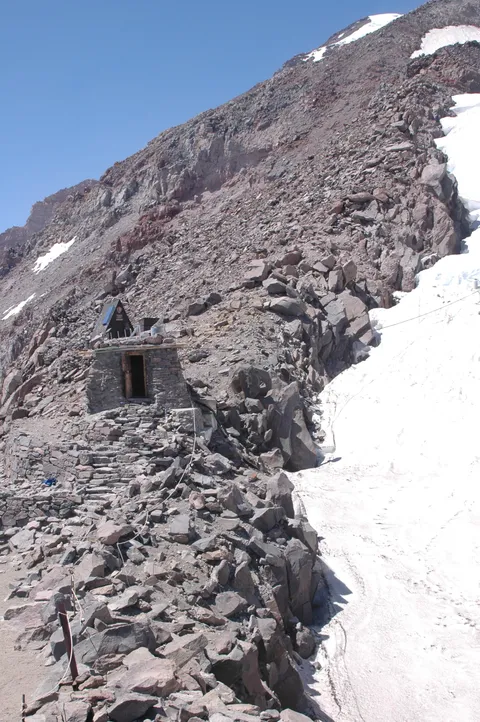
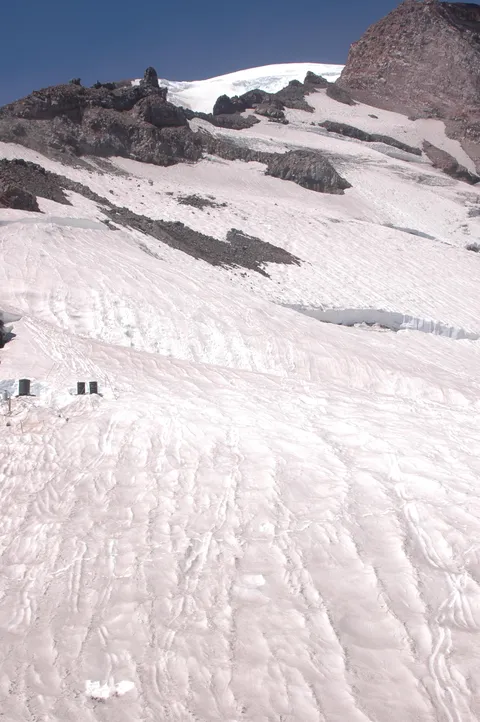
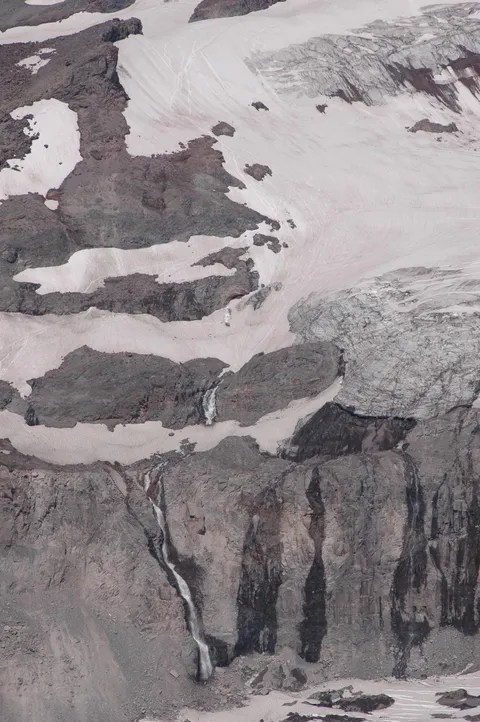
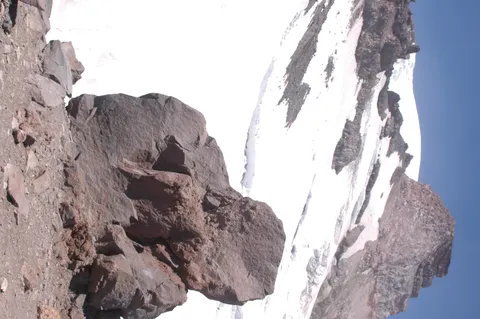
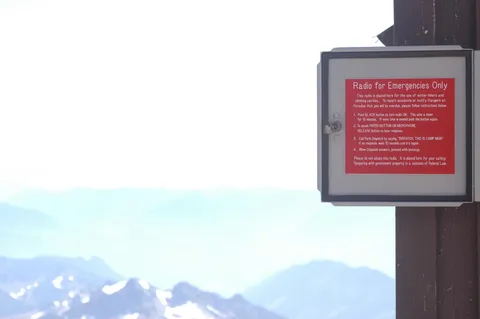
Camp Muir, the hike’s destination, is nestled on a rocky outcrop wedged between Nisqually and Paradise glaciers. It is accessible by traversing up the permanent Muir snowfield. The camp itself consists of a mortared stone cabin (built between 1916 and 1921), a couple of peripheral buildings and 3 passive solar toilets. It is is used primarily by Rainier climbers (the Disappointment Cleaver route is probably the most often used and one of the easiest ways to the top), but a nice sunny weekday will attract plenty of day hikers as well. While the snow field is easily traversed in good weather without special equipment, going any further will require glacial traversal skills.
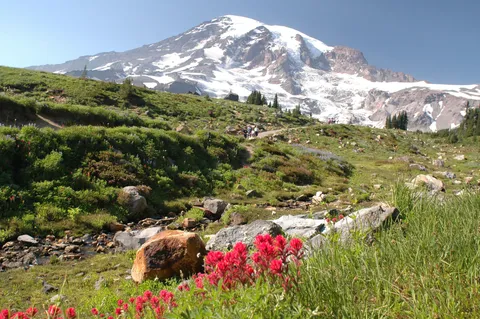
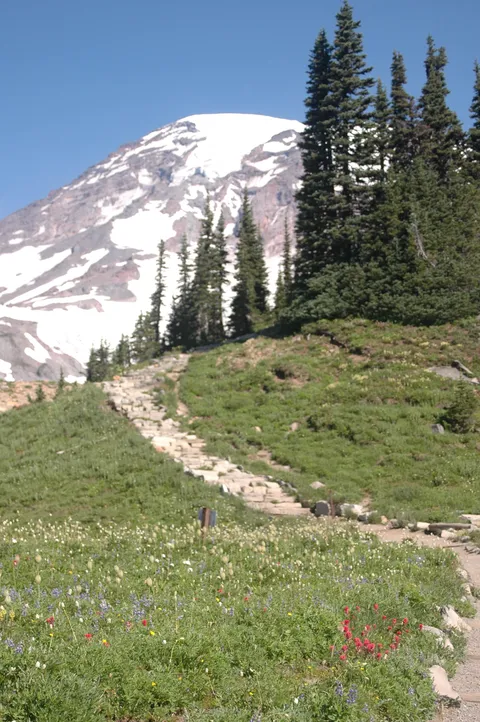
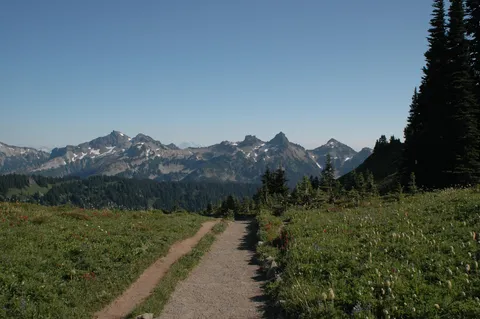
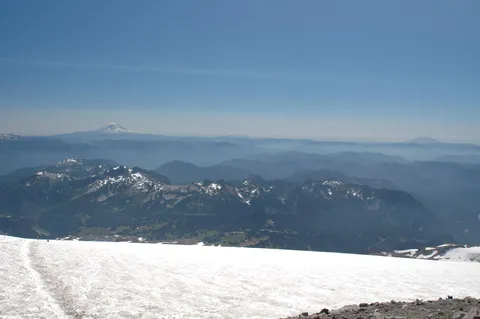
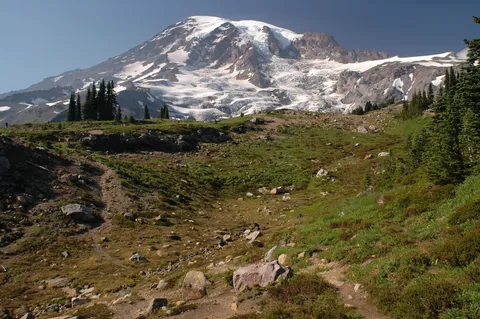
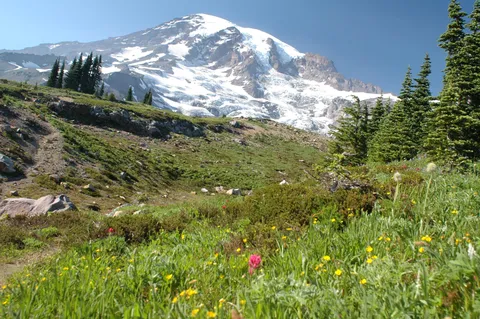
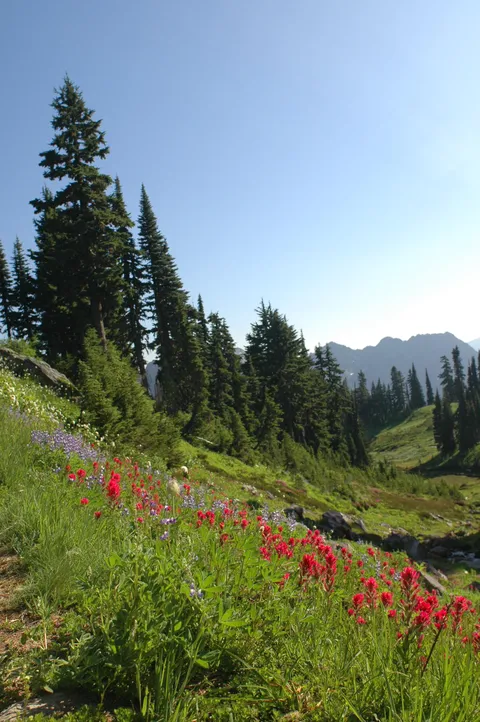
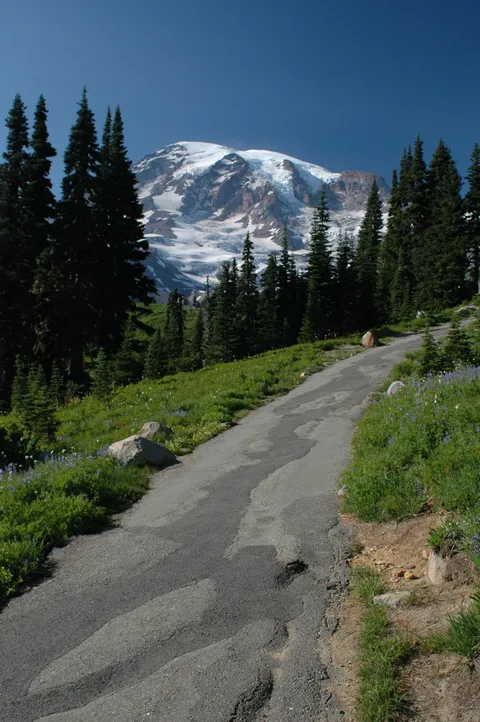
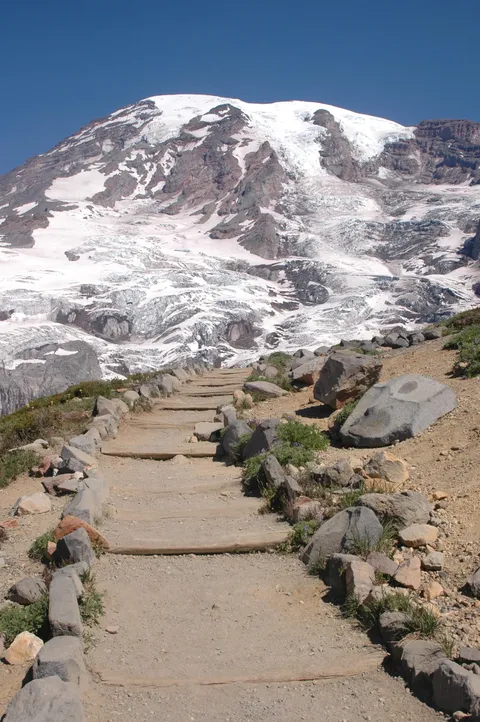
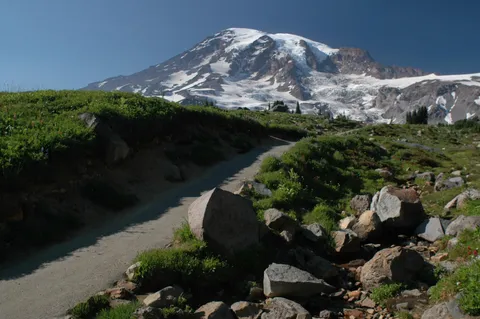
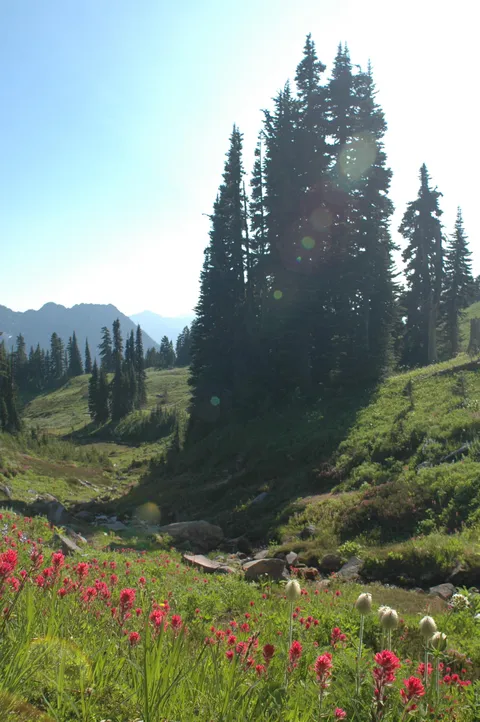
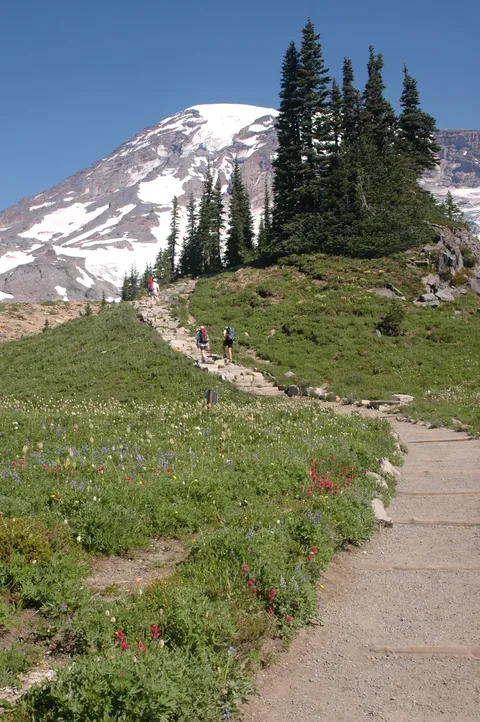
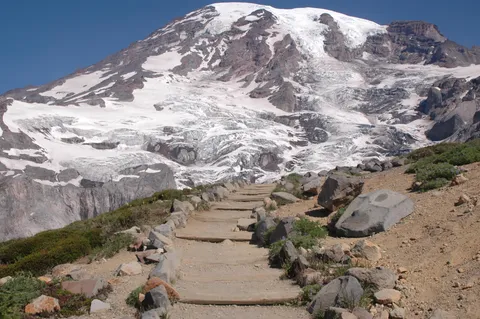
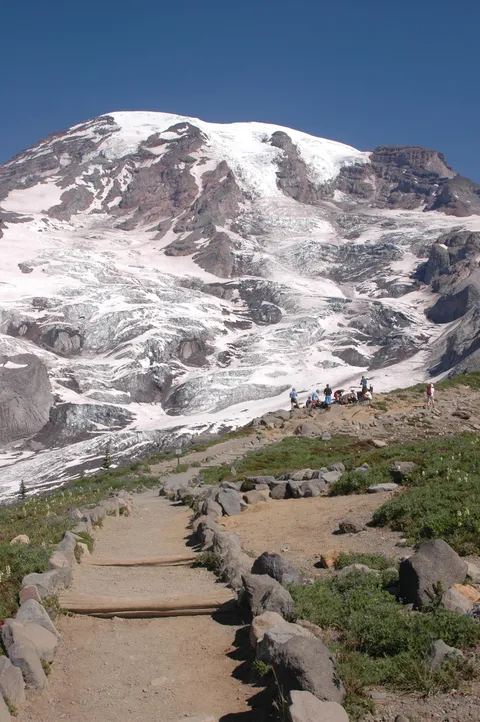
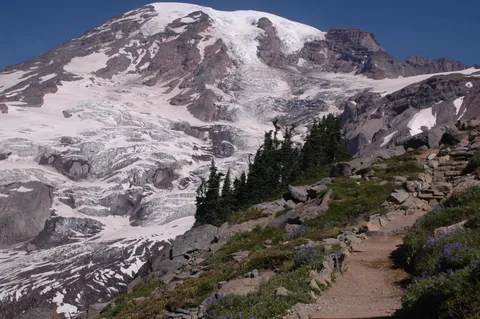
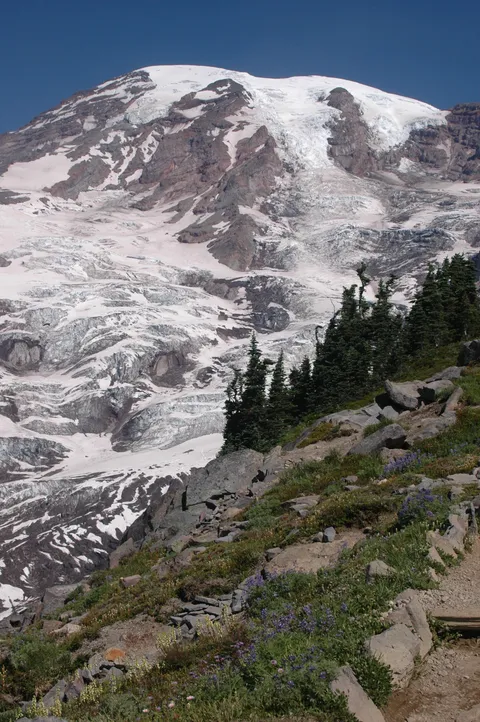
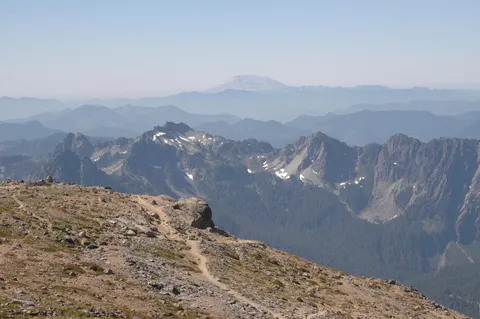
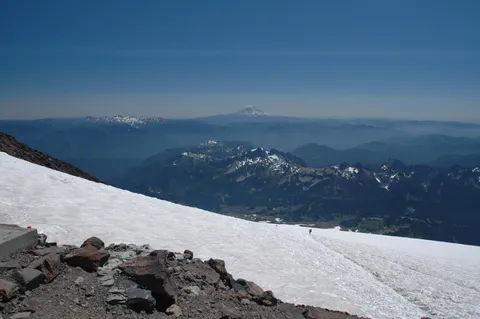
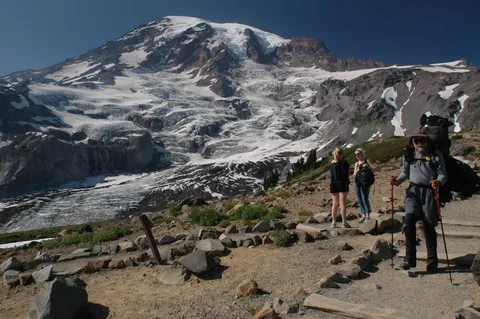
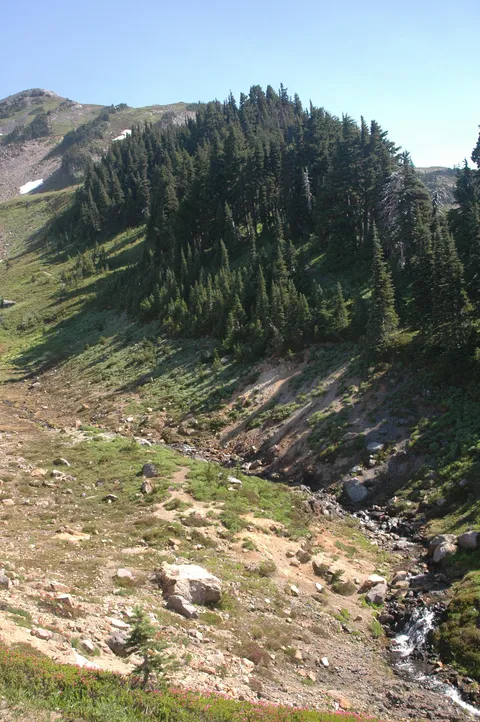
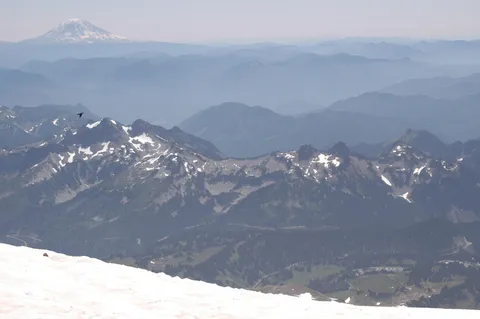
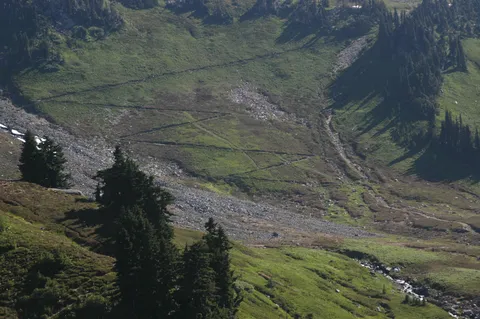
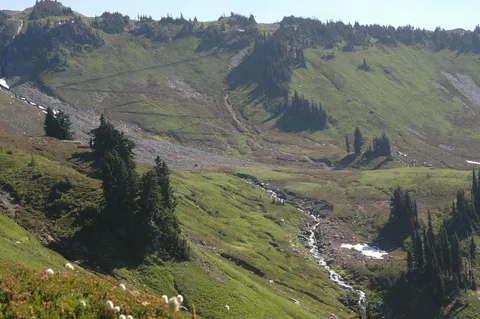
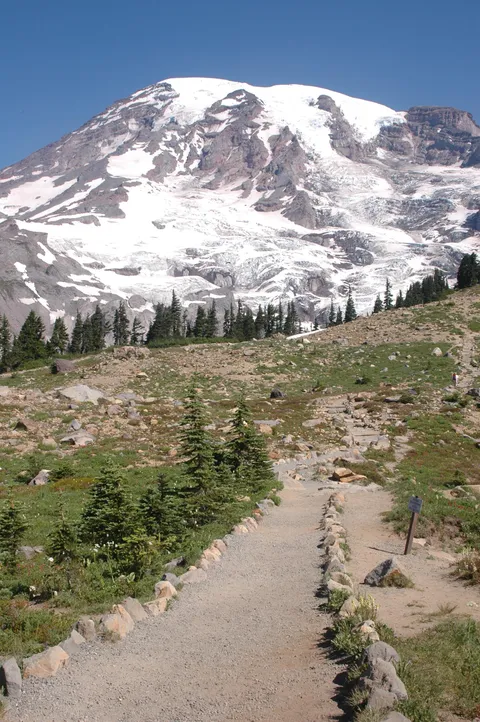
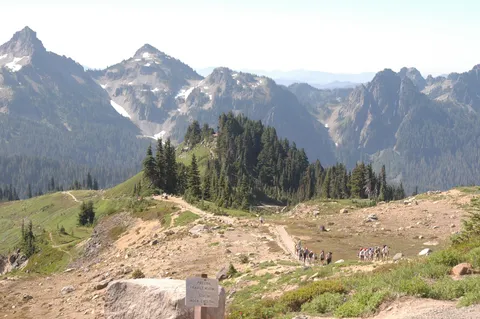
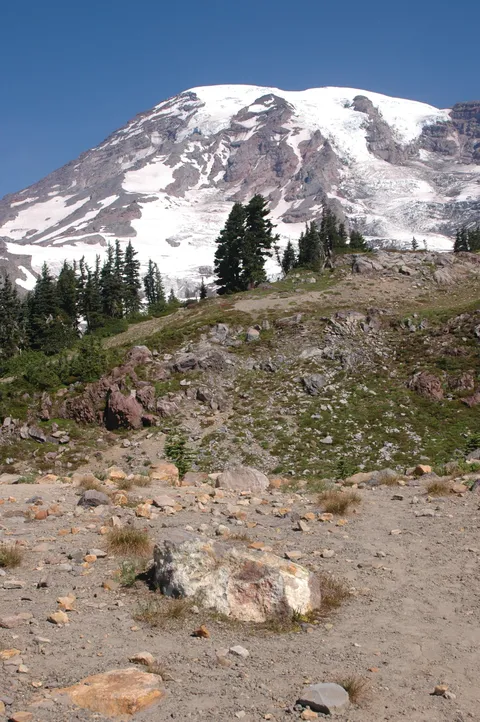
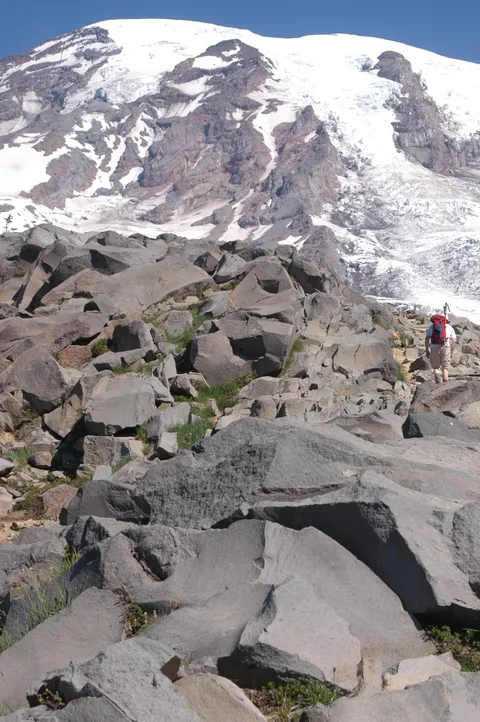
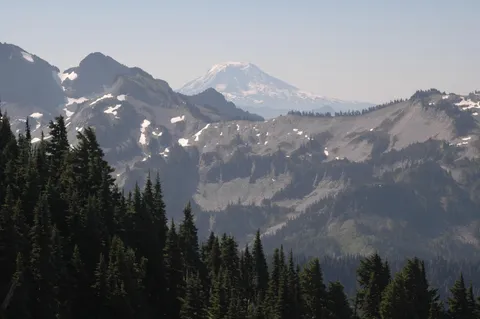
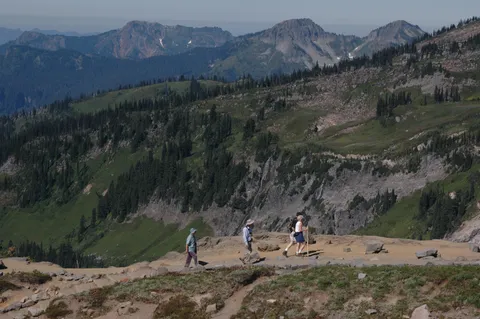
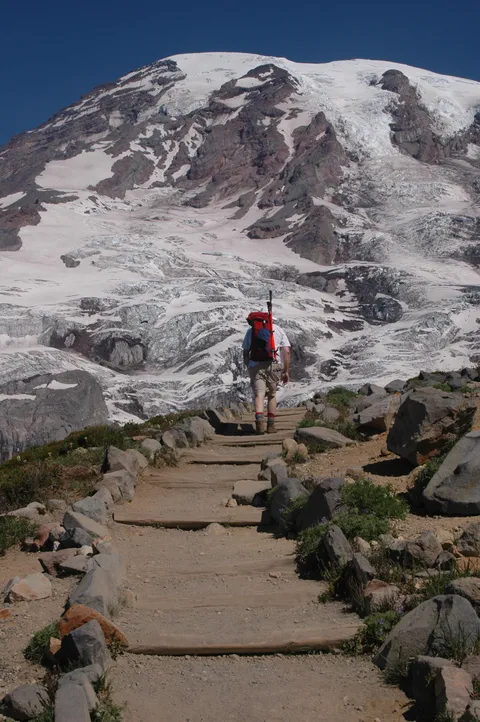
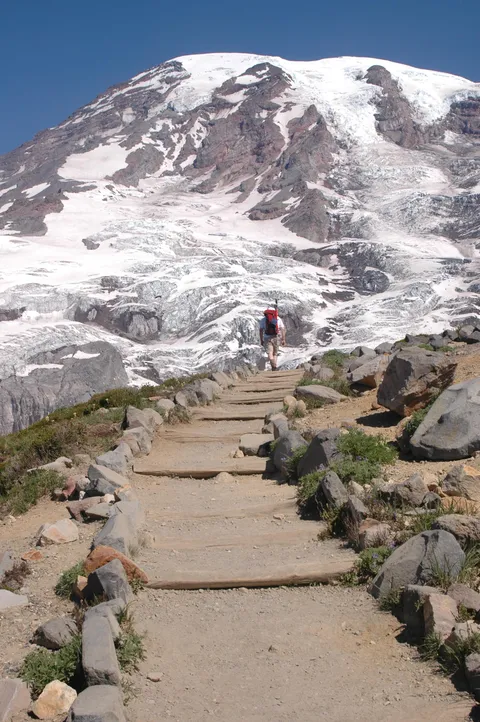
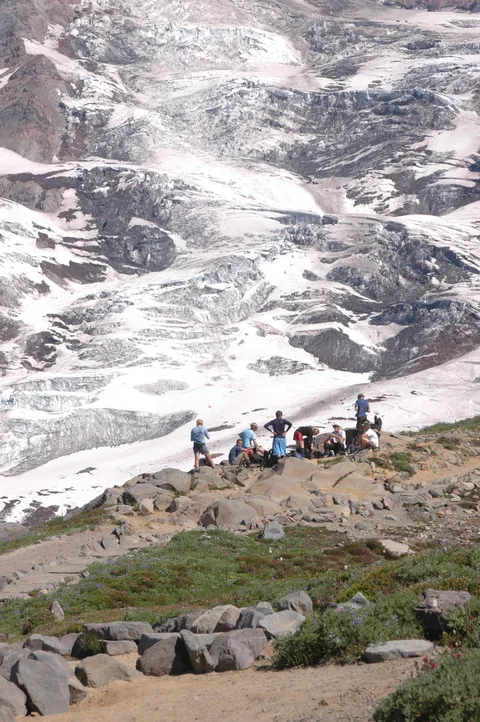
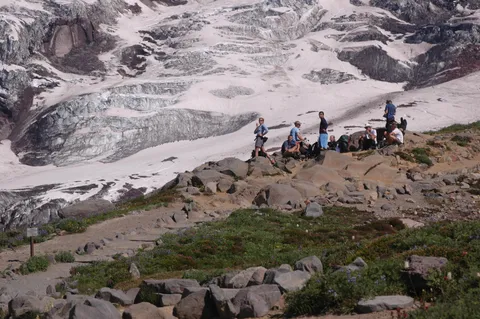
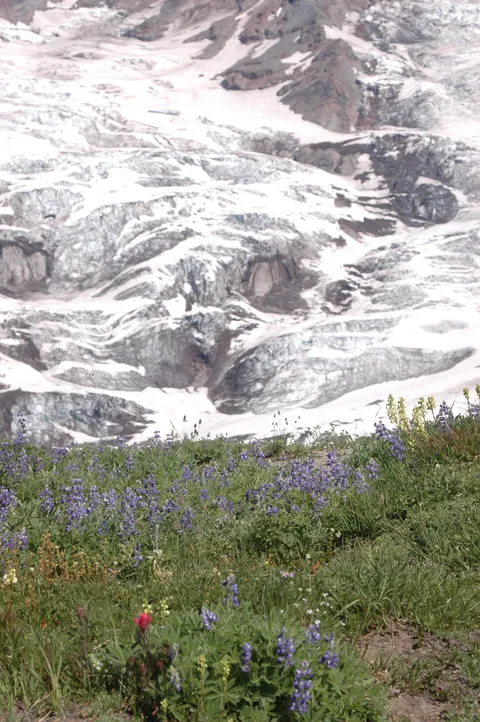
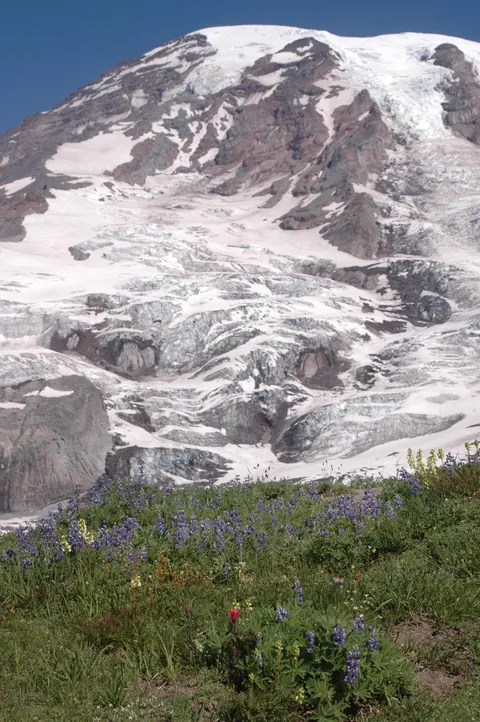
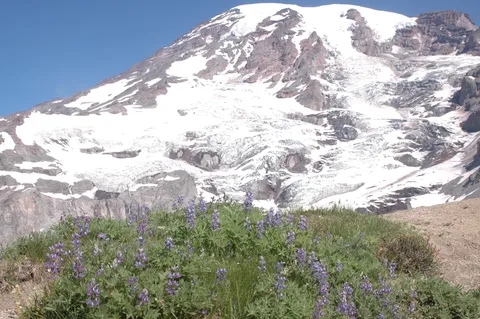
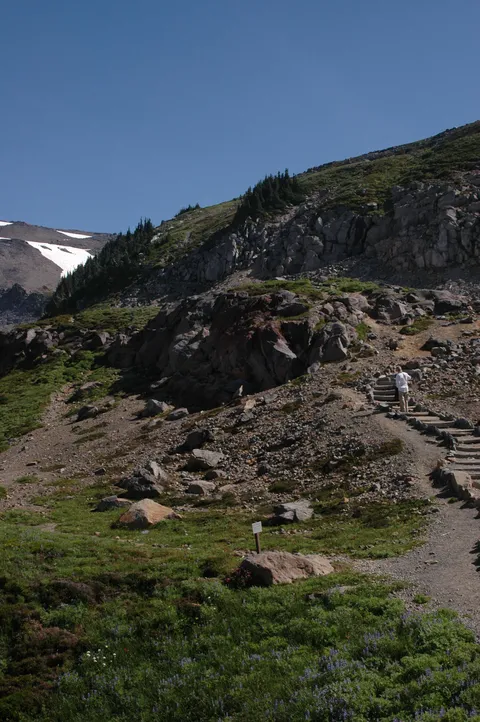
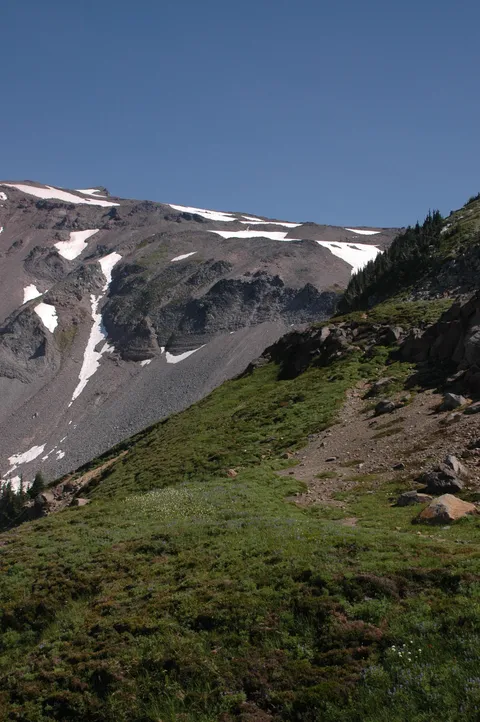
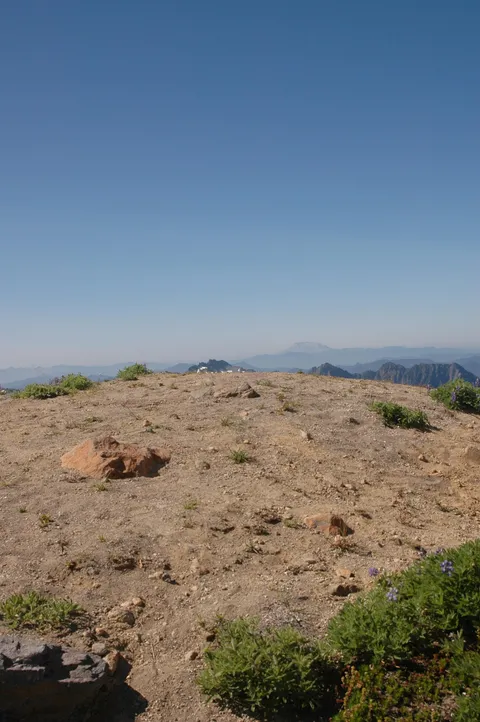
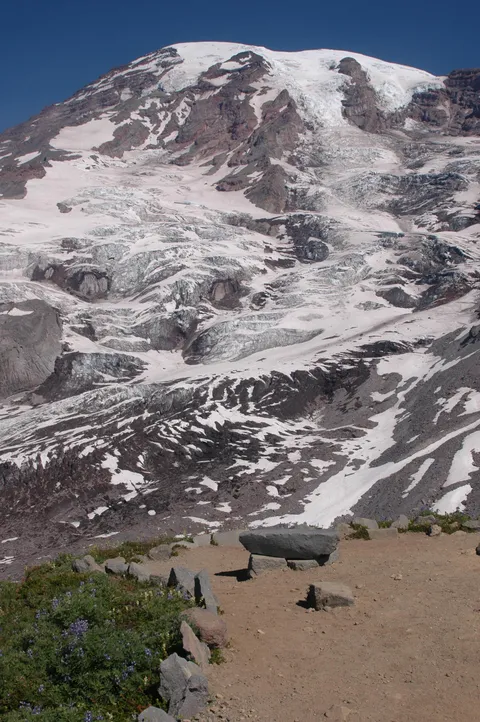
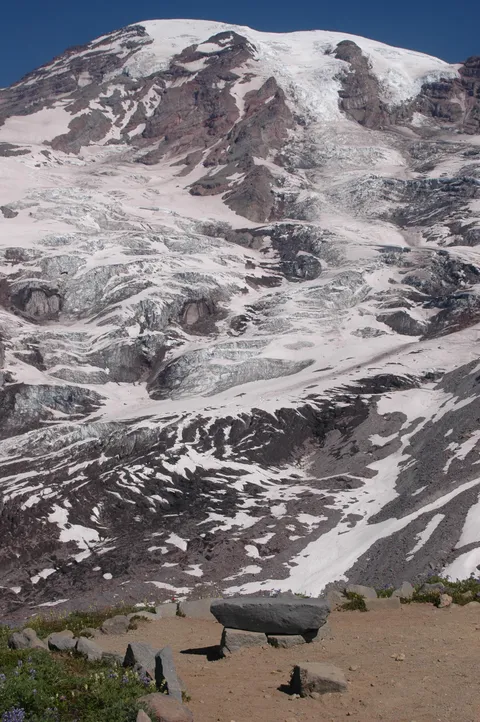
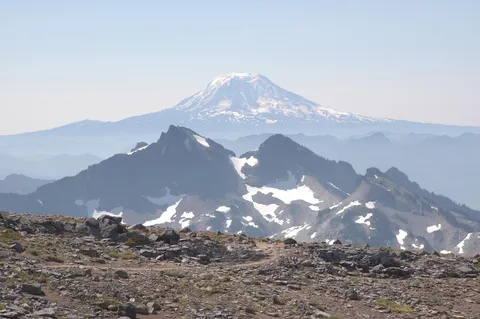
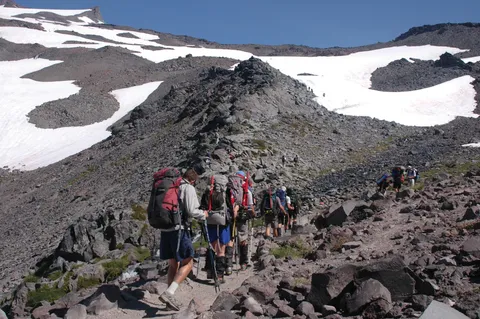
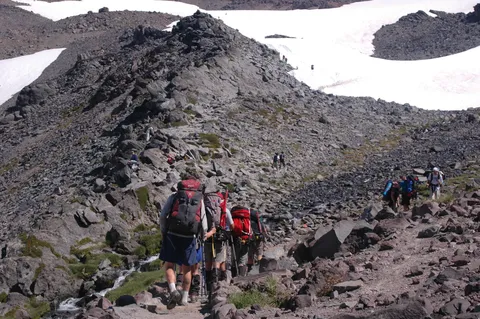
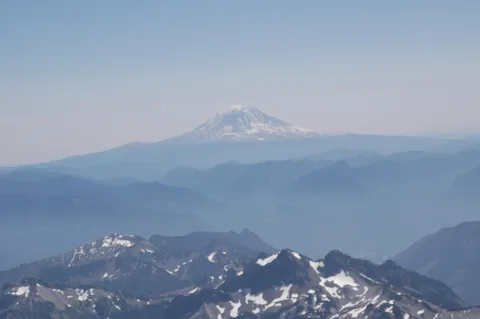
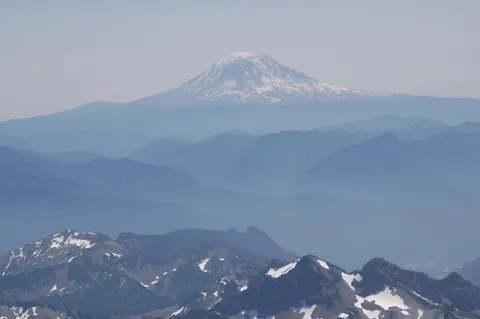
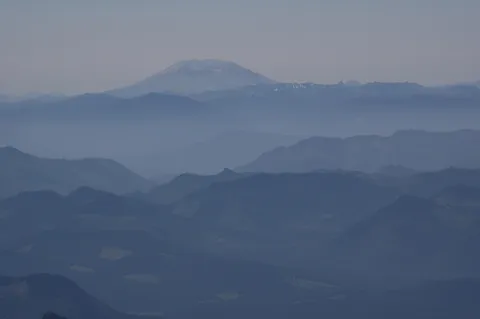
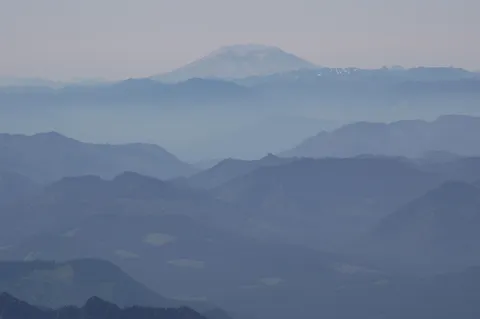
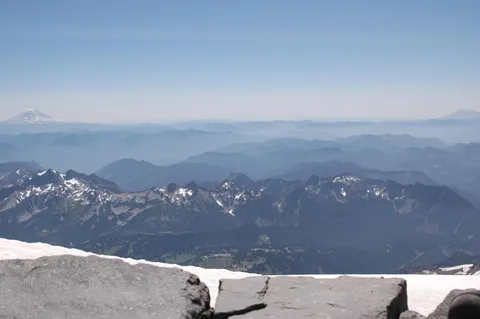
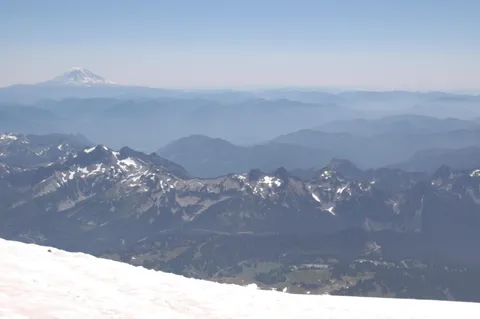
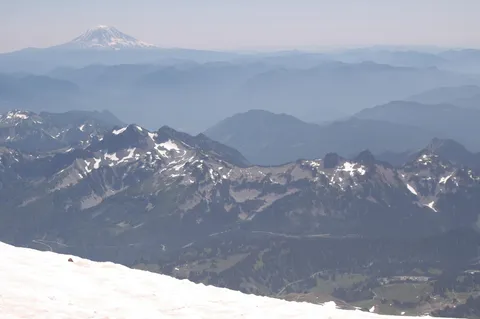
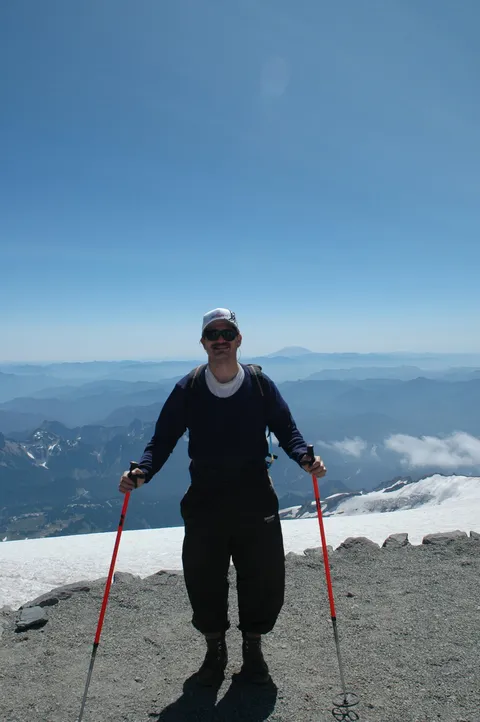
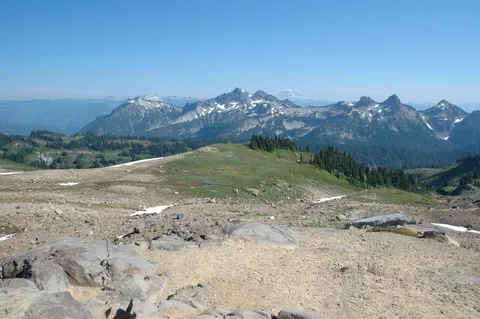
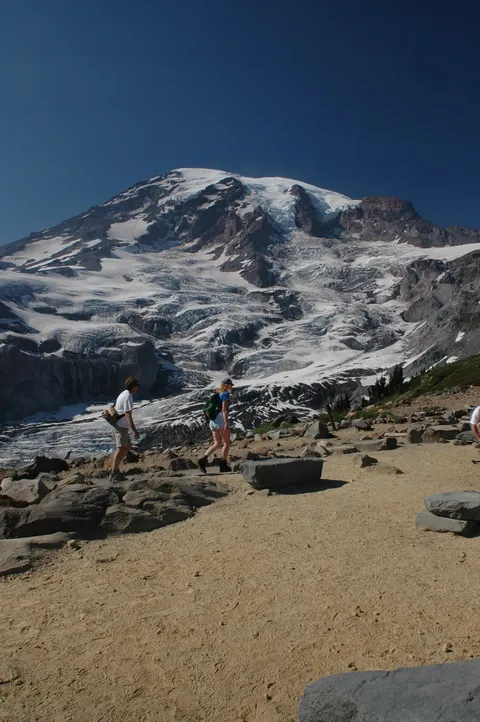
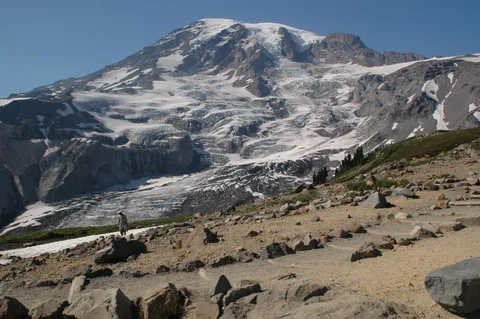
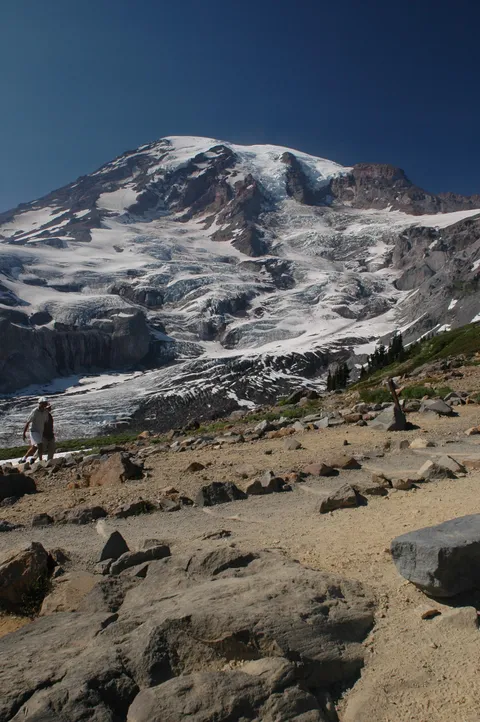
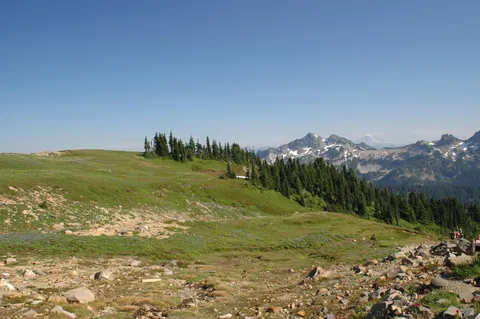
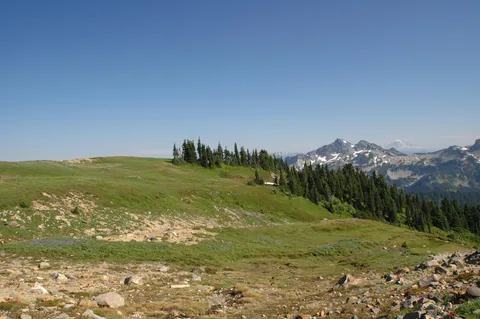
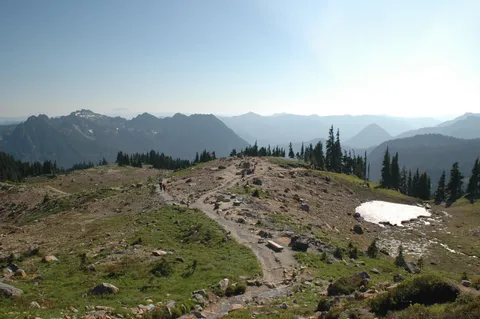
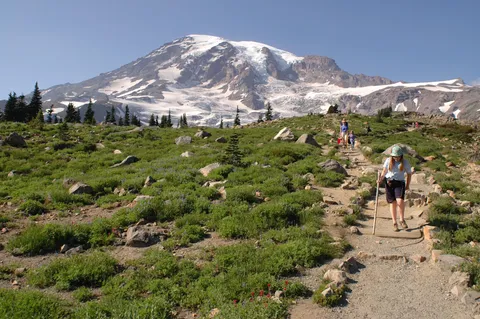
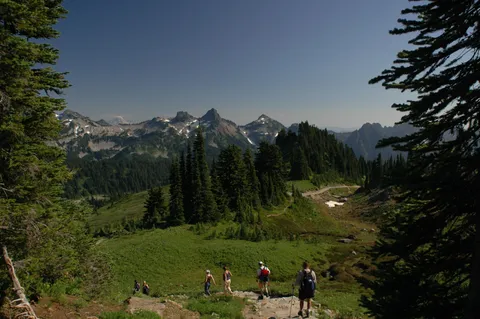
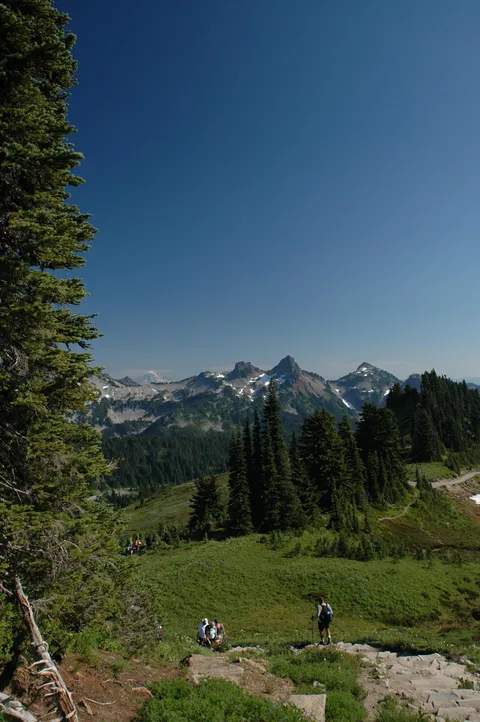
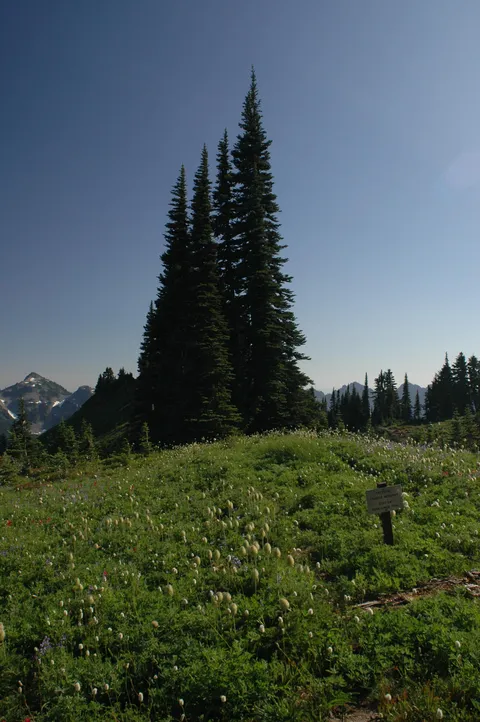
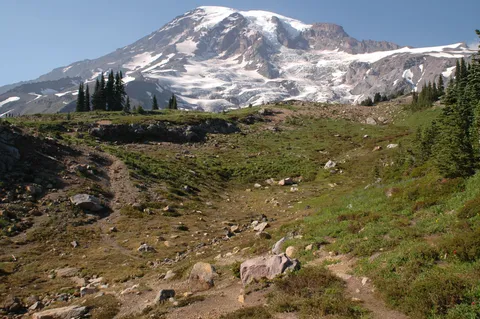
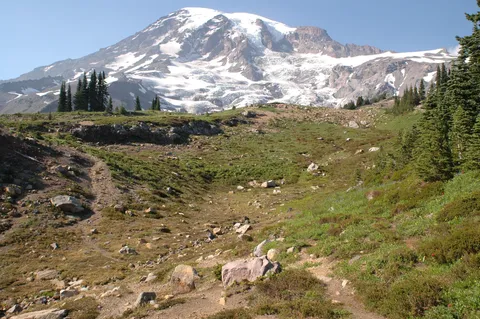
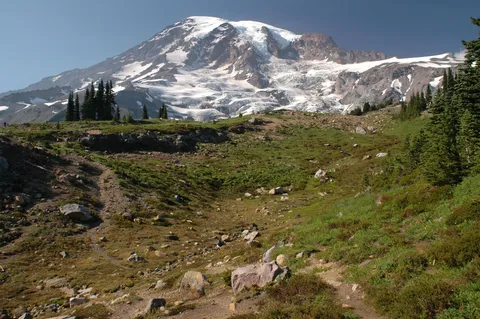
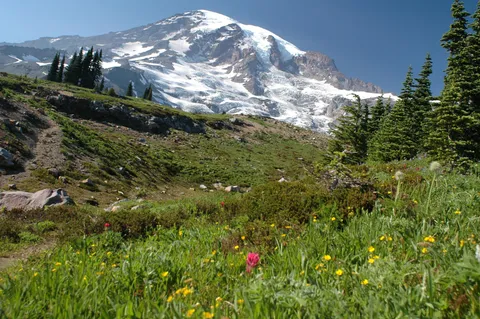
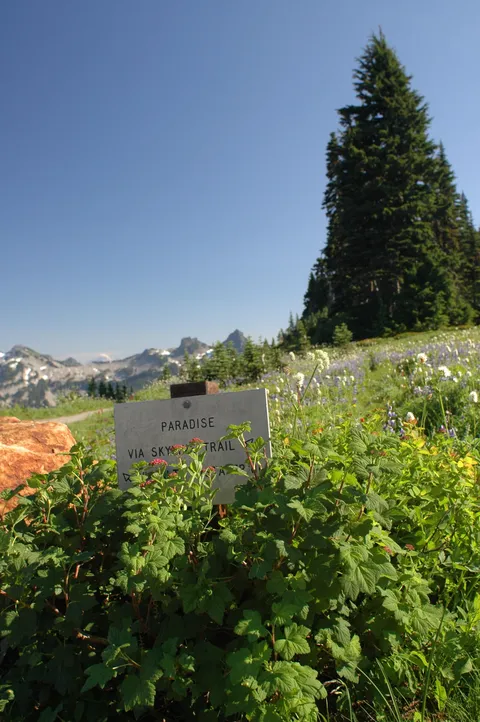
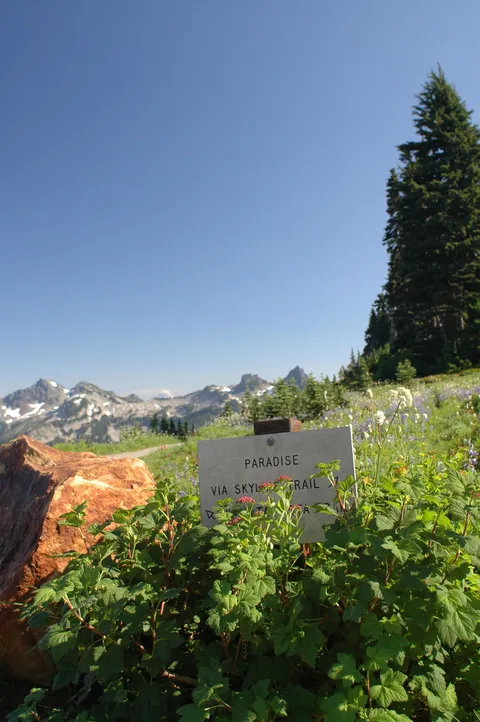
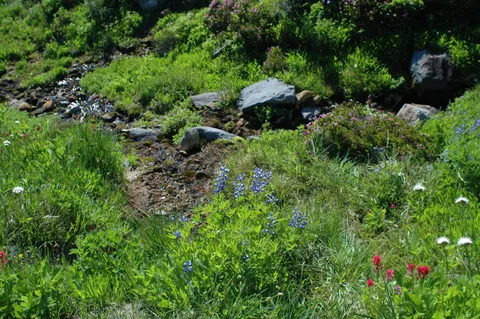
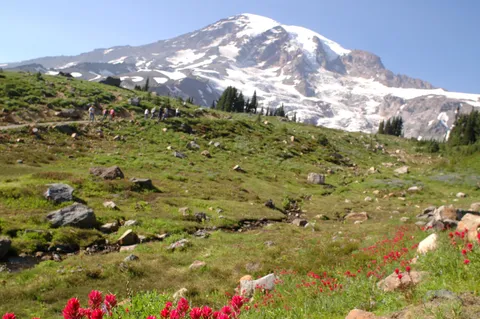
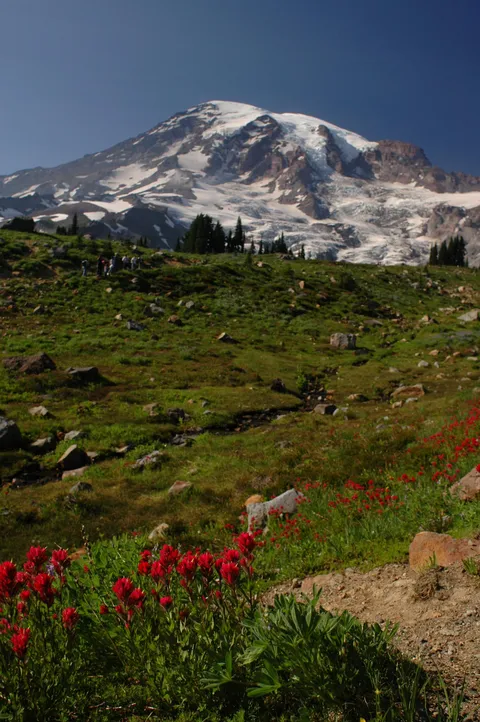
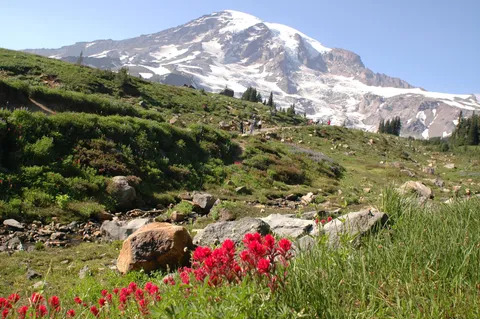
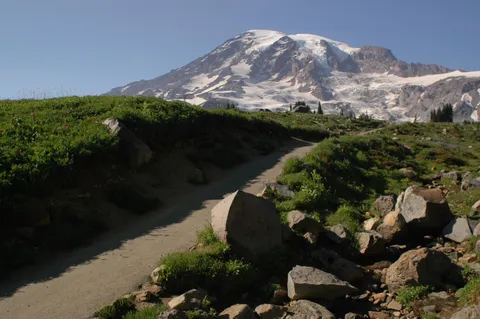
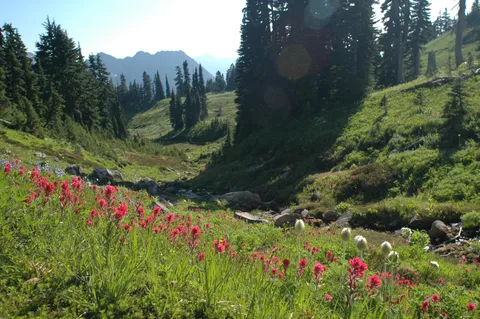
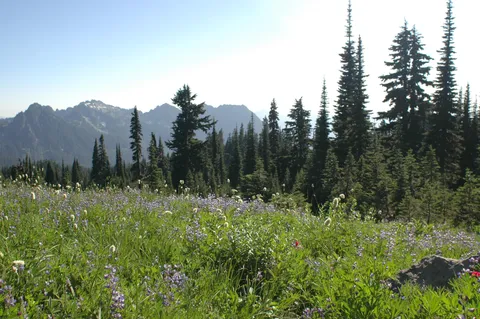
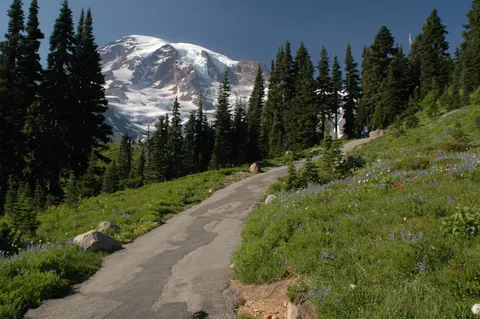
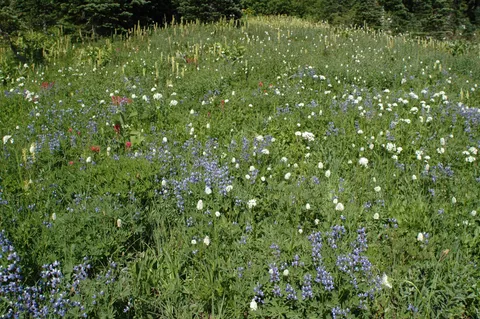
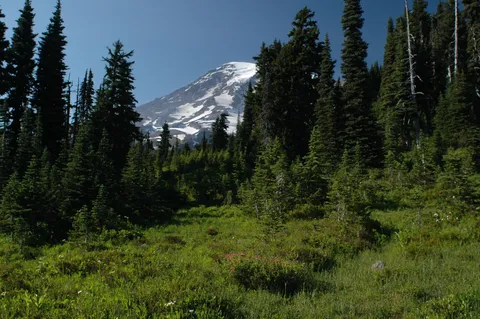
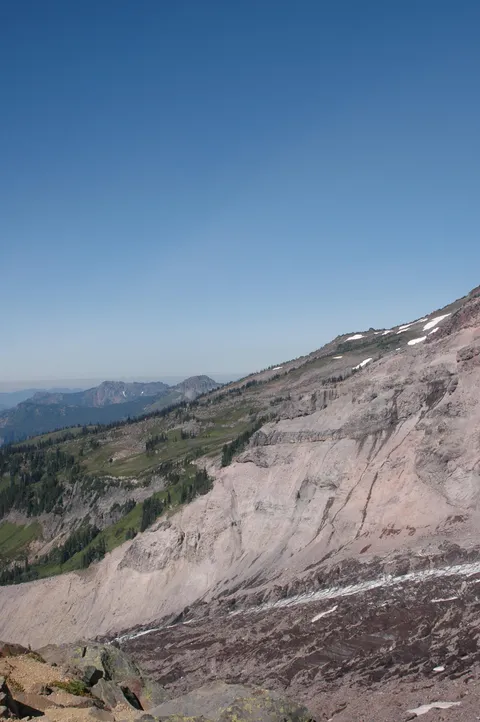
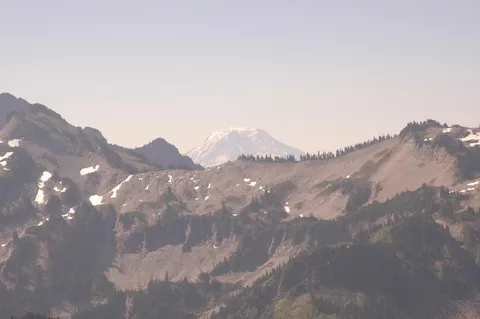
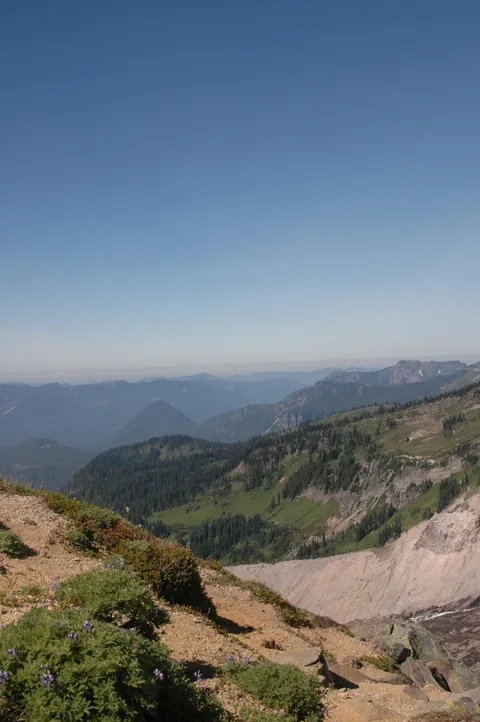
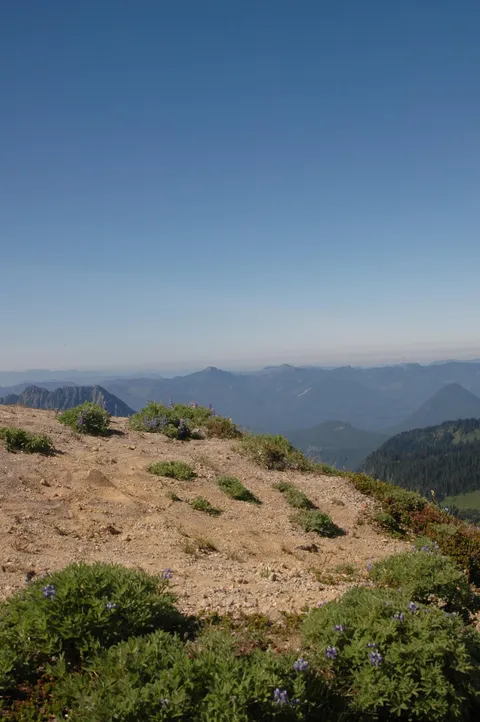
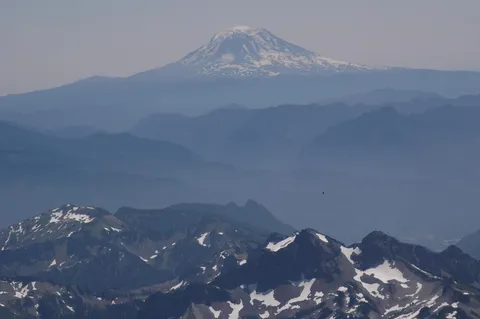
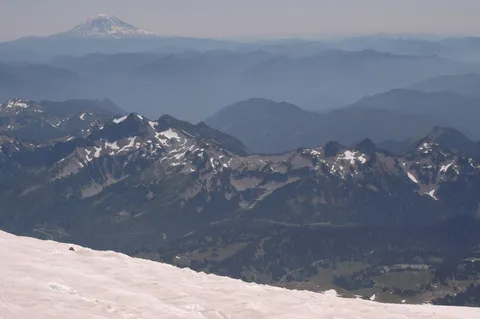
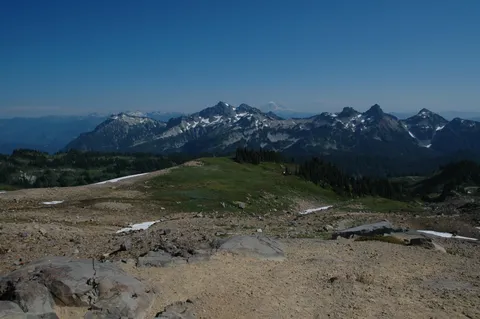
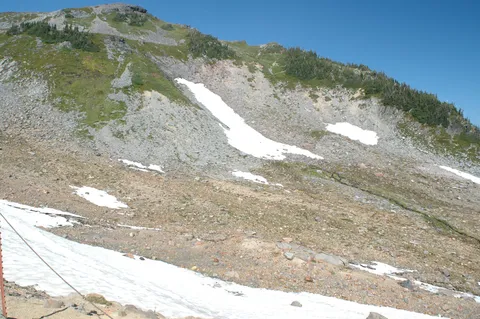
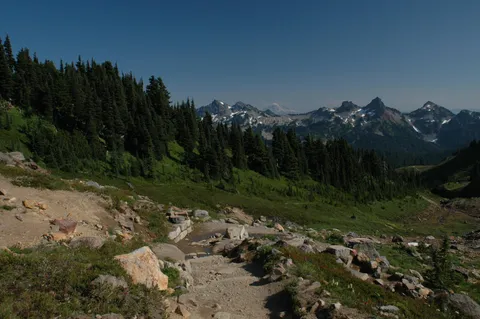
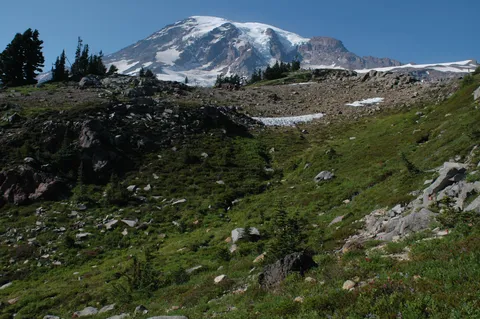
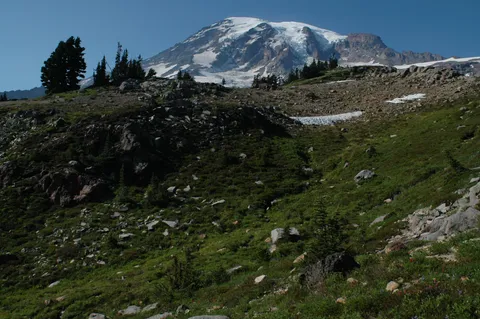
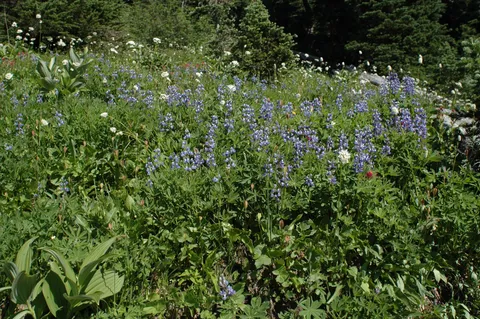
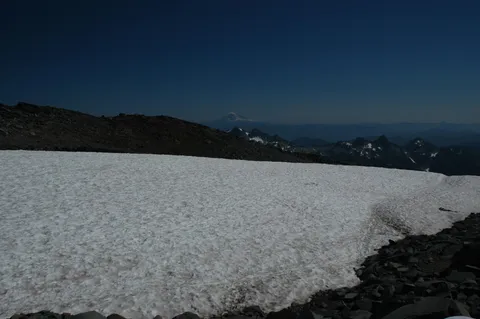
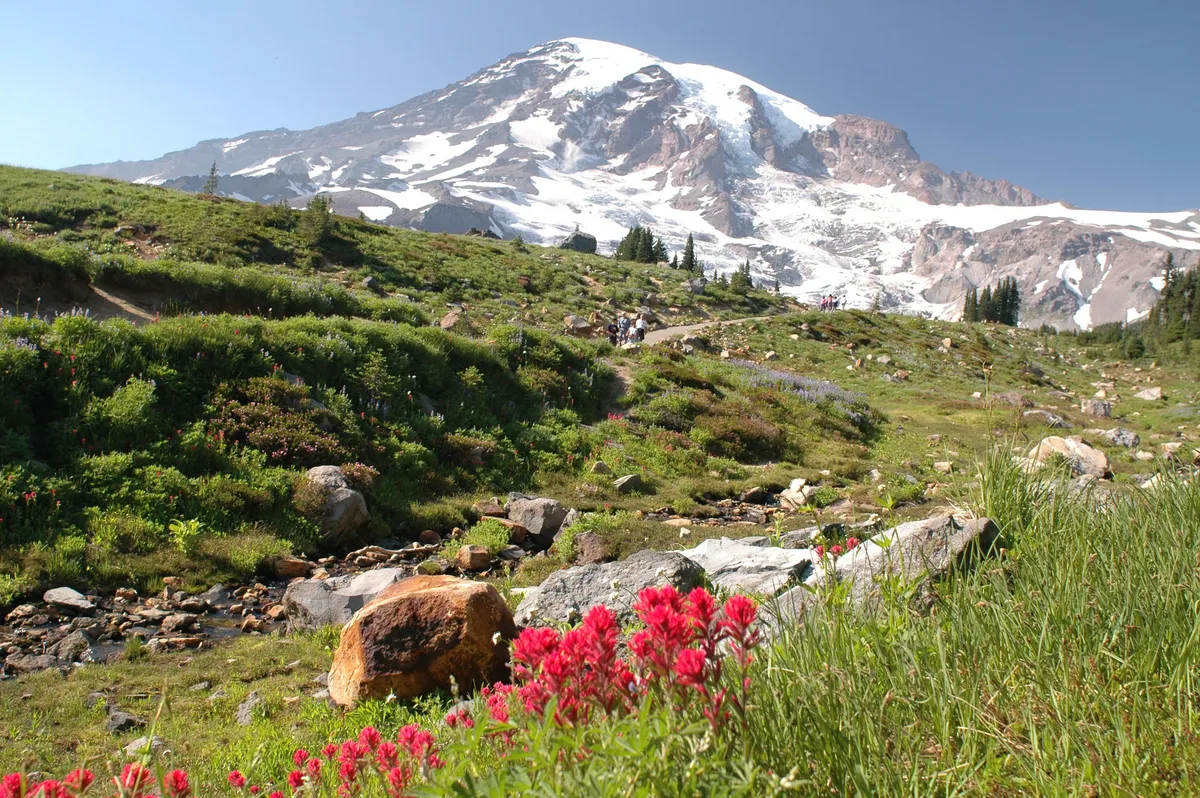
To get to Muir, start on the main trail from parking lot, to the left of ranger station and bathrooms. Walk up to the first fork, and follow the skyline trail. This area is very crowded, and for a good reason – it offers excellent views of Rainier, rumbling creeks and many small wildflower meadows (at the time of writing there were still plenty of flowers left, but I’d guess we were a week or two past their peak time). The initial part of Skyline trail is wide, paved and heavily trafficked. It climbs at quite a reasonable pace, however – most of the crowd thinned out after the first mile or so, where the paved surface ended and a hardpacked earth/wood step portion started. Follow the trail for the ever-better views of Rainier, and keep looking back behind you. On a clear day, facing away from Rainier you will see a snow-capped peak (Mt. Adams) to the left and a flat-topped, tall rocky surface to the right (Mt. St Helens). The skyline trail will traverse a small ridgetop, offering terrific views of Nisqually glacier bottom on one side, and a large alpine meadow on the other. You are gaining decent elevation and will work up a sweat, but the constantly amazing views and ever-changing scenery will more than make up for it.
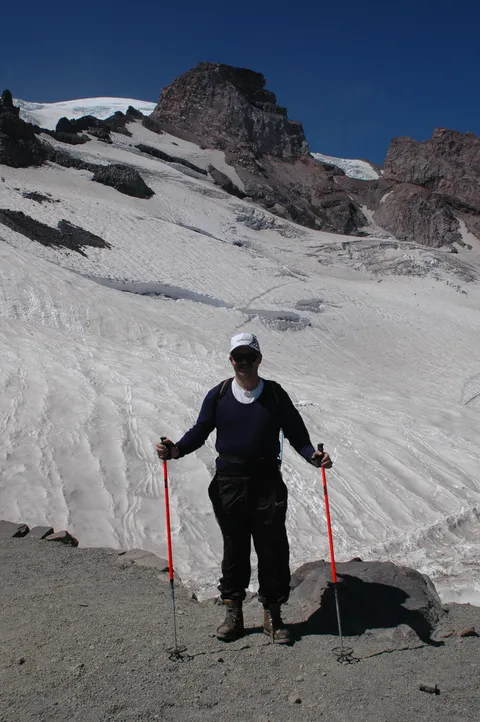
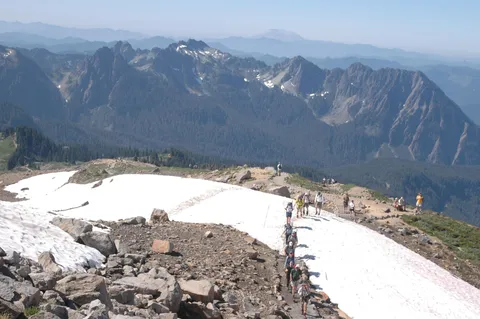
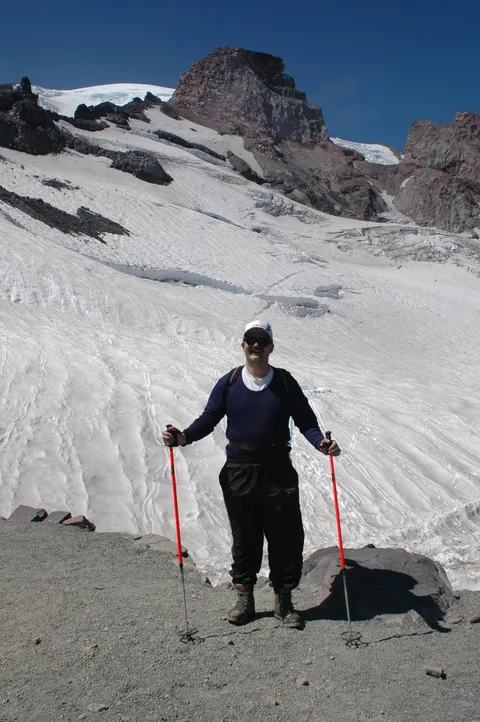
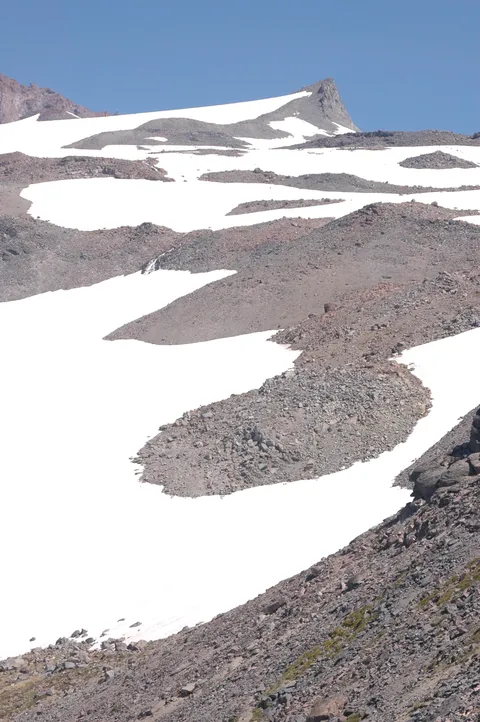
The Muir snowfield proper starts very soon after you cross Pebble Creek (2.3 miles and 1600 ft. from the Paradise ranger station). The creek itself was easily crossed by jumping from stone to stone this late in season, but I imagine it can run quite a bit higher in top melting season. Dig your boots into the snow and go for it! Hiking sticks, ski poles or an ice axe are mandatory for traversing up the steep snowfield. The official NPS trail is marked with thin poles with pieces of colored duct tape on them, but on this clear day most people chose to make their own way up. As long as you stay away from glacial boundaries and are alert around rock outcrops (which can heat up surrounding snow and cause snowfield crevasses to open up, any way up is as good as another. Today was a very popular day on this hike, and the snowfield was dotted with dozens of figures (including a mountain safety training course crew and a couple of RMI-led summit attempts), and yet it is easy enough to put enough distance between yourself and other hikers in either dimension to not feel the least bit cramped.
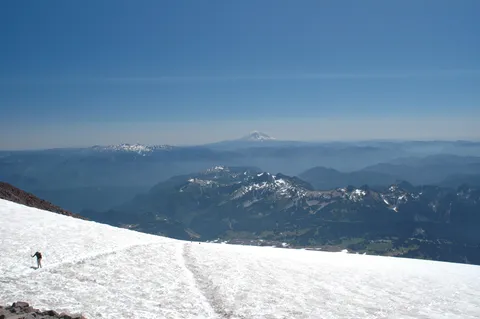
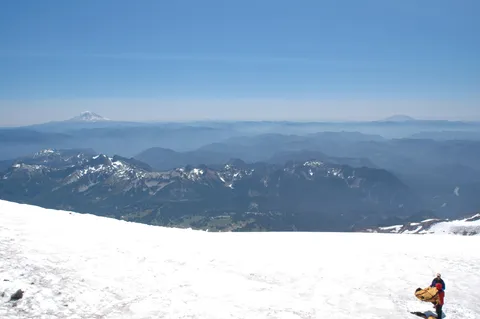
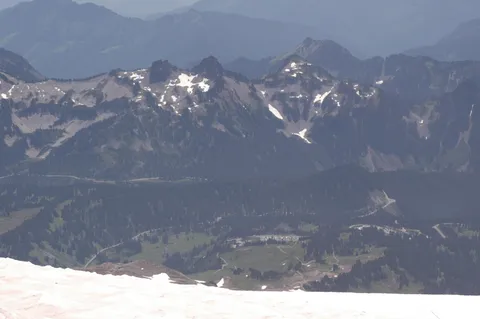
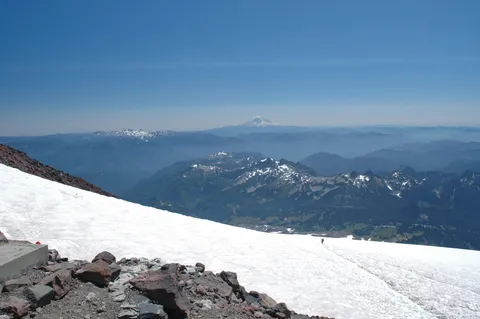
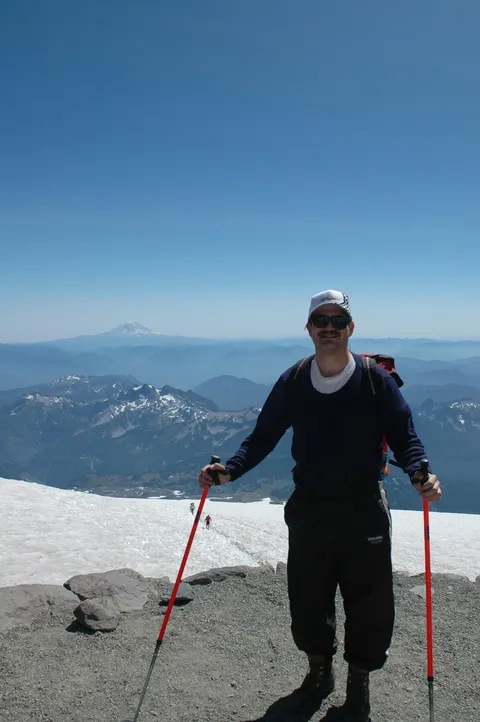
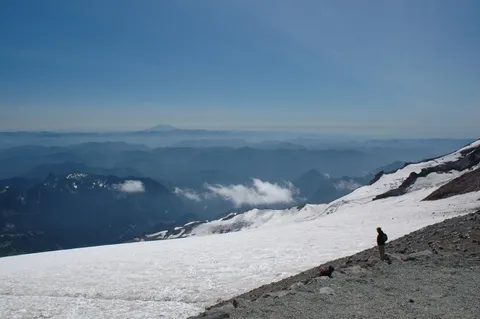
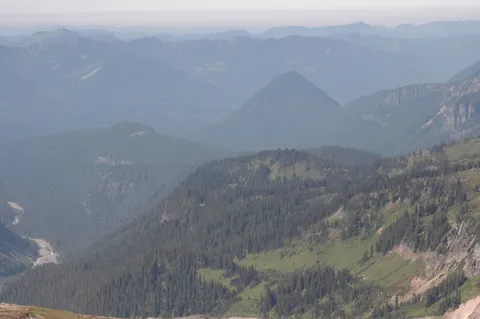
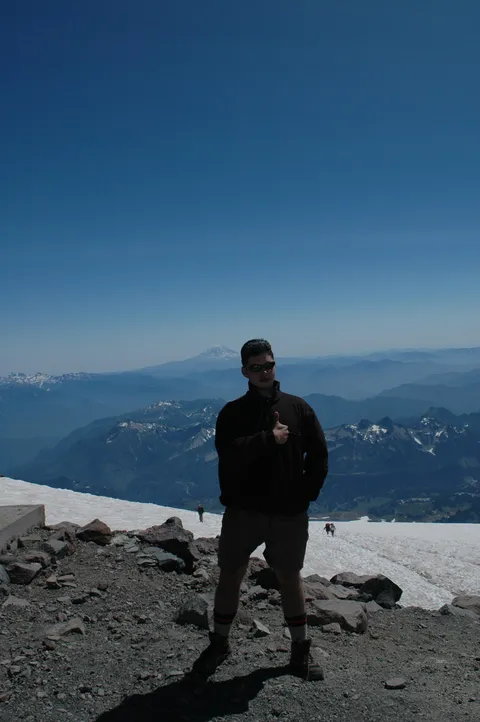
To climb up, we had to traverse 2900 ft in 2.2 miles, rising up to the final elevation of 10,050. I built up to a fast pace and made the trip in 2 hours; this seems to be a good time as I passed a couple dozen people on the way and was only passed by someone else once. The expected altitude-induced breathing difficulty kicked in sometime around 8500-9000 ft, and although it slowed me down a bit, it wasn’t altogether bad. While climbing up, the view ahead was typically dominated by the top of the local snowfield hill, but the view behind was incredible! Adams and St. Helens both rose higher and higher above Rainier’s foothills, while the giant parking lot below was reduced to a small, glittery field of car windshields reflecting ample sunlight. At pebble creek the ambient temperature was in high 70’s, climbing up brought at first a welcome breeze and than a freezing cold sidewind. I started off sweating through my poly-pro long sleeved top and t-shirt, felt comfortably cool about halfway up, and shivered in cold after another few hundred feet of vertical gain.
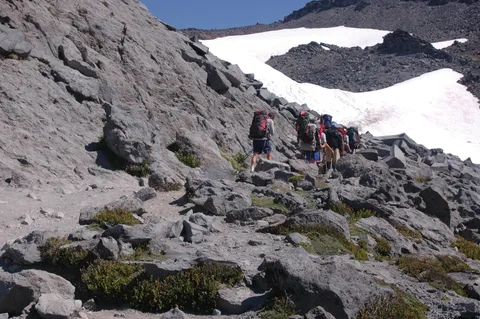
Camp Muir itself is not visible until you clear the last local hill on the snowfield, shortly after crossing Moon Rocks (if you are following the official trail). This last part of trail is definitely the hardest. When you see the camp buildings, it will seem within an arm’s reach, but realistically it’s at least another half-hour of grueling, high altitude climb to reach it! I think that my eyes got disoriented by the giant scale of everything around me, and once they found some small detail of camp’s building to focus on, the brain has magnified my perception of this detail greatly! Keep going, stop for rest when you need to and you will reach the camp eventually.
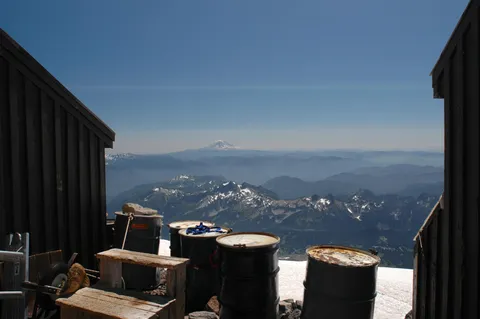
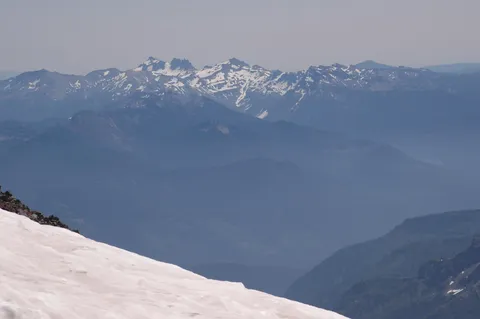
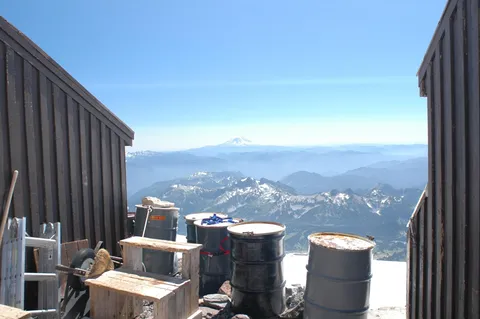
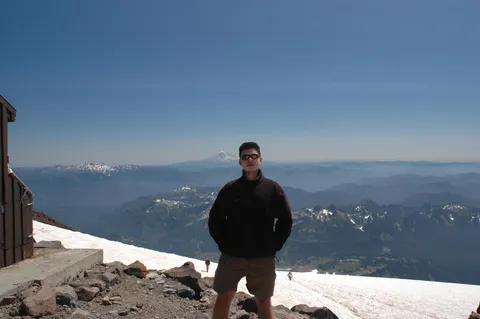
Once I made it up the stone steps, the first thing I noticed was the fierce icy sidewind that almost knocked my unsteady butt back down the stairs. This was definitely a “see how fast I can unzip my pack and pull out the fleece” moment! Even with the fleece on, the wind was piercing. I found that the best shelter outside of the hut itself was directly behind it, facing towards Paradise glacier. This was a great spot to have lunch too, as we got to look at a great view of the mountains, and (more importantly) were upwind from the toilets.
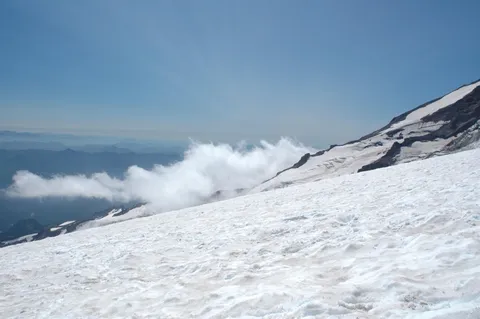
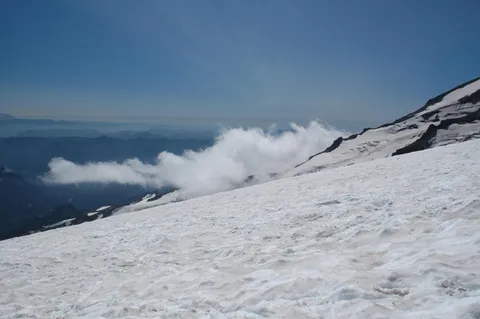
On the way down, most people chose to slide on whatever surface was available; I opted for a controlled albeit slow walk. The weather conditions were still great; a lone cloud had almost rolled in below us in its thoughtful slumber, but it appeated to have changed its mind and shrunk back towards Nisqually glacier. The Muir snowfield is not a place I would have wanted to be during a whiteout; the tiny trail markers are hard enough to see in completely clear conditions. Do not go there without at least the small map with compass bearings provided by NPS (downloadable copy) and better yet a real topo map and knowing how to use it!
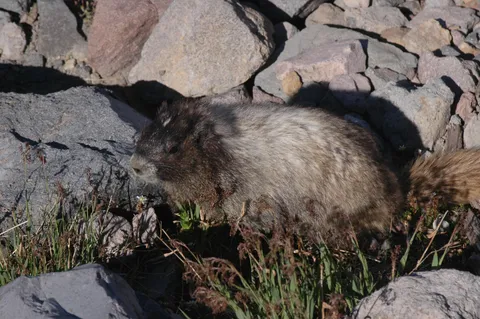
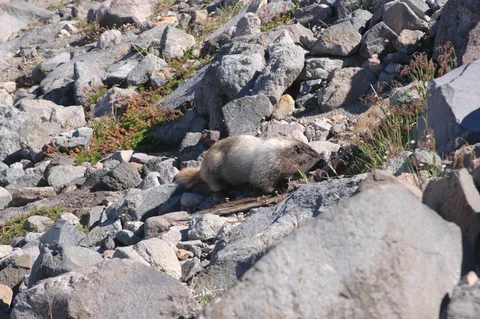
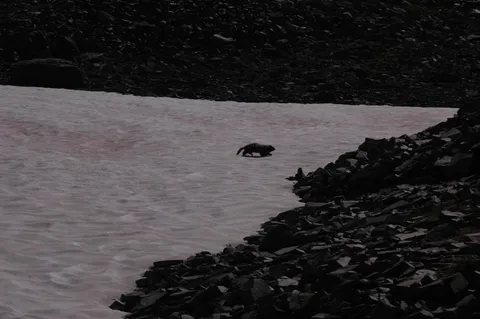
The view as you are going down is the same gorgeous vista of Adams, St Helens and distant meadows below you. The wind gradually drops and ambient temperature rises. Once you make it down to Pebble Creek, pack your fleece and get out the camera. The sun angle makes photographs of Rainier much more pleasant later in the day as opposed to morning, as sun rays hit it at a longer angle. Enjoy your walk down to the parking lot, look at the wildflowers and marmots feeding on them, and once you hit the paved portion of Skyline trail you may appease your inner snob by feeling superior to all the folks who get flustered and out of breath form only going that far.
At the end of the day, the top 3 things I wished I brought along but did not were:
- Hiking boots which were truly waterproof. But I had a change of socks which was almost as good.
- A pair of light gloves
- A wool hat to protect my head from the wind
None of these are things I typically think of when the weather forecast is 80 degrees and clear. But now I know better.
Photos 151
Highest rated first